
Aquarium CO₂ Diffuser Guide: Size, Placement and Cleaning
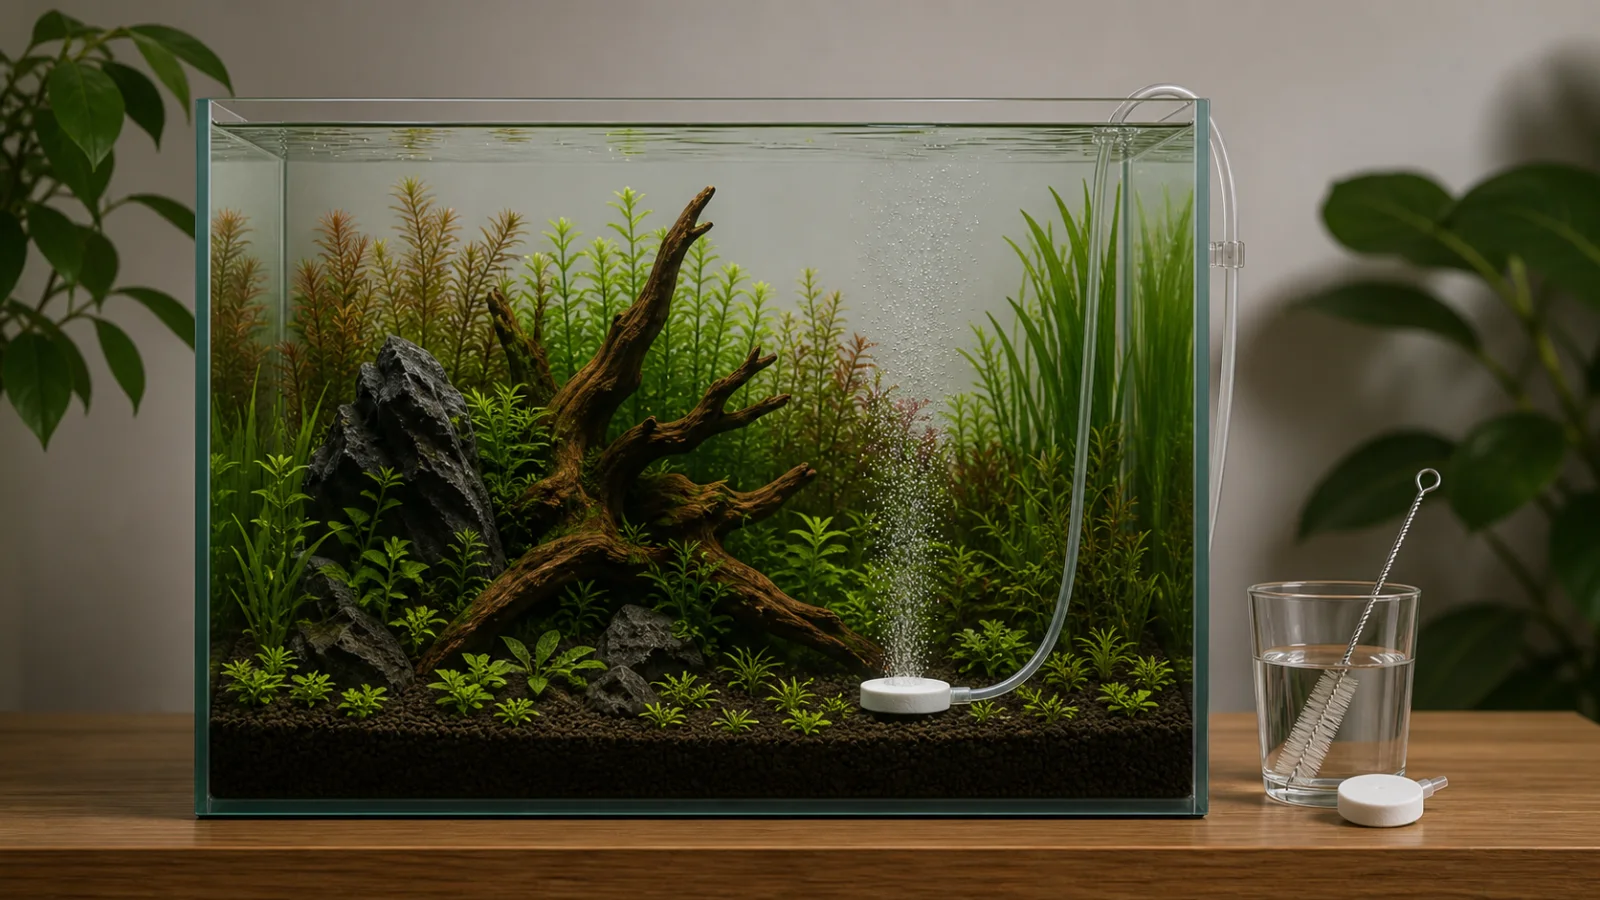
A CO₂ diffuser is the final delivery component in a pressurised planted-aquarium system. It must be compatible with the regulator and tubing, suit the filter layout, and distribute gas through the planted area without encouraging unsafe adjustment.
Choose the delivery method before the size
| Type | Useful when | Verify before purchase |
|---|---|---|
| In-tank ceramic or glass diffuser | You want visible bubble output and direct access for inspection. | Required working pressure, CO₂-rated hose size, replaceable membrane, mounting depth and cleaning method. |
| Ladder or spiral reactor | The manufacturer designs the reaction path for bubbles to dissolve while rising. | Rated aquarium range, extension limits, mounting orientation and compatibility with the gas source. |
| Inline diffuser | An external canister-filter return provides the specified hose connection and flow direction. | Exact filter-hose diameter, installation direction, seal parts, operating pressure, priming and maintenance access. |
| Low-pressure bio-CO₂ diffuser | The diffuser is explicitly designed for the lower and less stable pressure of that gas source. | Whether the membrane is intended for bio-CO₂; a high-pressure ceramic diffuser may not work correctly. |
Manufacturer examples show why the type matters. JBL’s ProFlora Direct instructions require product-specific membrane preparation and working pressure, while Dennerle’s Carbo Bio Style uses a lower-back-pressure textile membrane with a different cleaning method. Do not transfer the instructions from one diffuser to another.
The compatibility card to complete
Before opening the cylinder valve or starting a bio-CO₂ bottle, record these answers from the manuals:
- Gas source: refillable cylinder, disposable cylinder or bio-CO₂.
- Regulator output: the controlled working-pressure range and connection standard.
- Diffuser requirement: minimum/maximum pressure, aquarium range and installation orientation.
- Tubing: CO₂-rated material and exact internal/external diameter.
- Backflow protection: whether the bubble counter or diffuser already contains a check valve, and the documented direction.
- Filter interface: for inline models, hose size, flow arrow and service clearance.
- Replacement parts: membrane, seals, suction cups and maker-approved cleaner, where applicable.
More check valves are not automatically safer: JBL documents that multiple spring-loaded valves can interfere with restart on one of its inline systems. Follow the layout for the exact equipment set.
Place an in-tank diffuser by the flow path
- Observe the filter outlet with CO₂ off. Map the broad circulation loop rather than the strongest jet.
- Choose a low, accessible position where the current can carry bubbles through the planted footprint before they reach the surface.
- Keep the diffuser and tubing away from intake hazards, heater contact, sharp hardscape and areas where livestock can become trapped.
- Leave enough access to remove the diffuser without pulling hard on glassware or hardened hose.
- Put the drop checker, if used, away from the direct bubble cloud so it samples a different, representative area.
Placement is successful when distribution is repeatable and plants across the intended zone receive circulation—not when every bubble stays underwater. Surface gas exchange remains important for livestock.
Commission the system without chasing a bubble count
Bubble size varies by bubble counter and diffuser, so “bubbles per second” is not a universal concentration. Start from the equipment maker’s commissioning sequence. Verify seals and valve direction using the approved method, allow any documented membrane soak or run-in period, and make gradual adjustments with the light schedule unchanged.
Observe animals at the start and near the end of the injection period. Gasping at the surface, loss of balance, unusual hiding or sudden inactivity requires immediate attention: stop CO₂ addition, restore safe gas exchange and follow species-specific emergency guidance. Plant-growth goals never override animal welfare.
Read the bubble pattern before changing pressure
| Observation | Likely category | Next check |
|---|---|---|
| No bubbles after restart | Supply, timer/solenoid, valve, leak, blocked membrane or insufficient compatible pressure | Work from cylinder/source to diffuser in order; confirm each component against its manual. |
| Large bubbles after installation | Membrane not prepared, incorrect orientation, damage or incompatible pressure | Check the exact preparation and working-pressure instructions before adjusting. |
| Bubbles emerge from only part of a ceramic disc | Normal path-of-least-resistance behaviour or partial fouling | Compare with the maker’s FAQ; do not demand visually uniform output as proof of performance. |
| Output weakens over days or weeks | Deposits, kinked tubing, depleted supply or changing pressure | Inspect tubing and gauges, then service the membrane only by its stated method. |
| One tank zone responds poorly | Distribution rather than supply | Map circulation and hardscape obstruction before increasing injection. |
Clean the diffuser by its material and manual
Remove the diffuser from the aquarium before using any cleaner. Never use household soap. Some ceramic membranes have a maker-approved soaking process; some reactors are dismantled and rinsed; some textile membranes are cleaned under running water. Chemical products may be corrosive or harmful to aquatic life, so wear the protection required by the label, keep them away from the aquarium and rinse exactly as directed.
Replace a cracked glass body, damaged seal or worn membrane rather than trying to compensate with pressure. When pulling old hardened hose from a glass or plastic fitting, follow the maker’s removal method to avoid snapping the connection.
Diffuser questions
Is a larger diffuser always better?
No. Size, membrane type, working pressure and circulation all interact. Use the manufacturer’s aquarium and pressure guidance for the exact model.
Should I place it directly under the filter intake?
Only if the equipment maker explicitly documents that layout. Otherwise keep gas away from intake hazards and use the outlet’s broader circulation to distribute it.
Can I increase regulator pressure to clear a clogged disc?
No. Service or replace the diffuser according to its manual. Raising pressure against a blockage can create equipment and livestock risk.
Manufacturer sources
Build a practical aquarium maintenance kit
Choose tools that fit the tank material and size, then add filtration support and monitoring for a repeatable care routine.
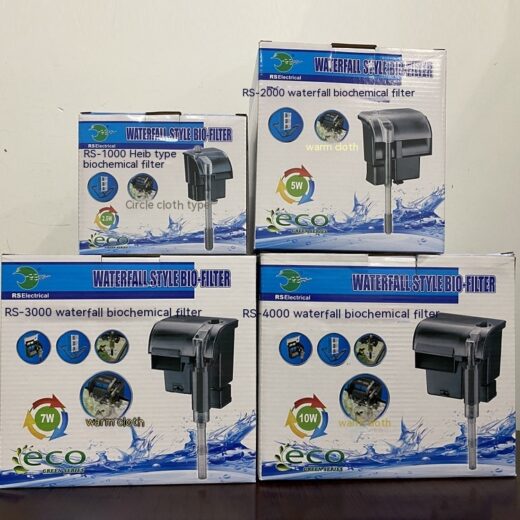
Aquarium Waterfall Bio Filter – RS1000 to RS4000
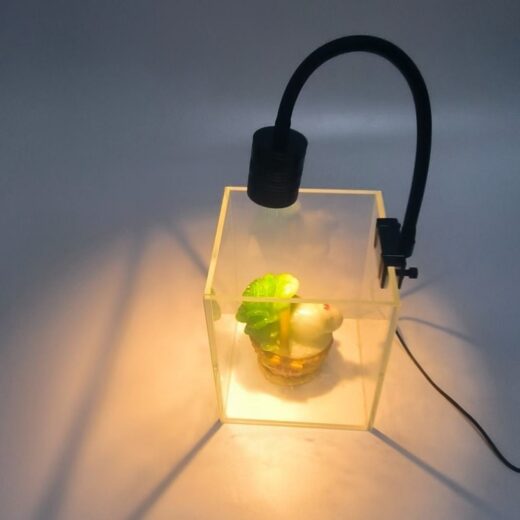
7 W USB Aquarium Plant Spotlight – Standard & Dimmable Models
Products matched to this guide
Selected for relevance to the setup and needs covered above.
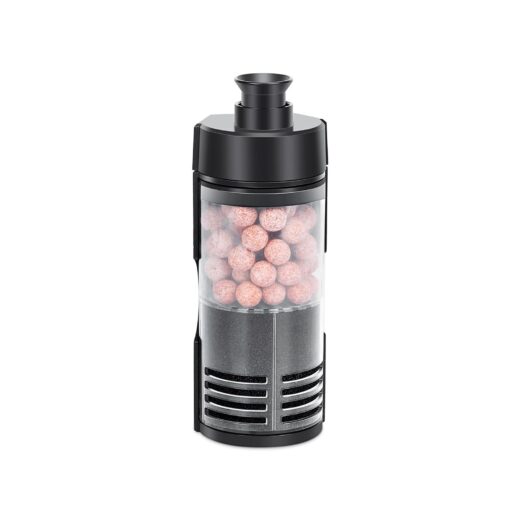
Bio Sponge Filter for Betta, Shrimp & Fry – 2–20 Gallons
Bring sponge and ceramic-media filtration together in a compact, air-driven filter. Choose Small for 2–5-gallon aquariums…
View product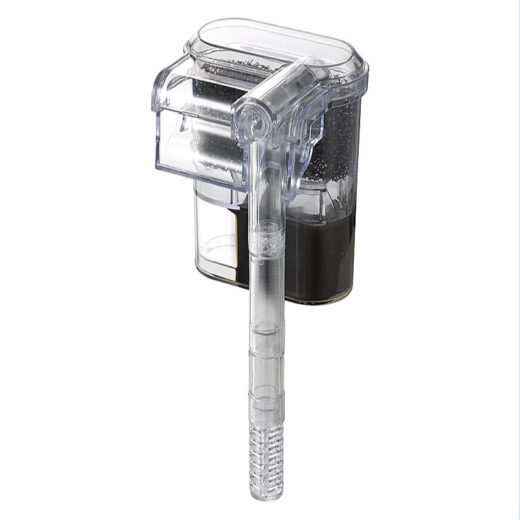
USB Mini Hang-On Waterfall Aquarium Filter
A compact USB-powered hang-on waterfall filter for small aquariums. Its transparent-grey ABS housing keeps the tank…
View product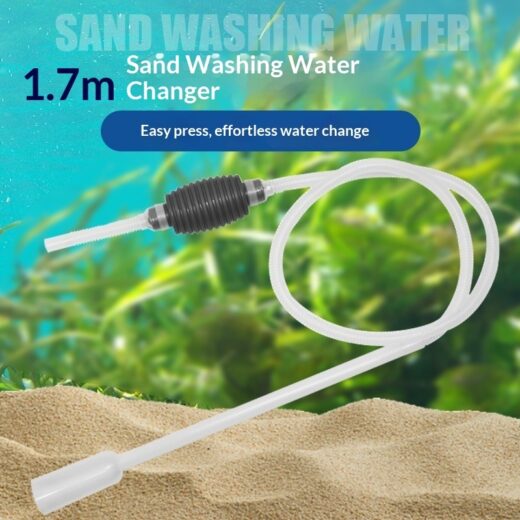
Manual Aquarium Siphon & Sand Cleaner
Make routine water changes more manageable with our 1.7 m manual aquarium siphon and sand cleaner.…
View product