
Planted Aquarium CO₂ Troubleshooting: Unstable Levels and Poor Growth
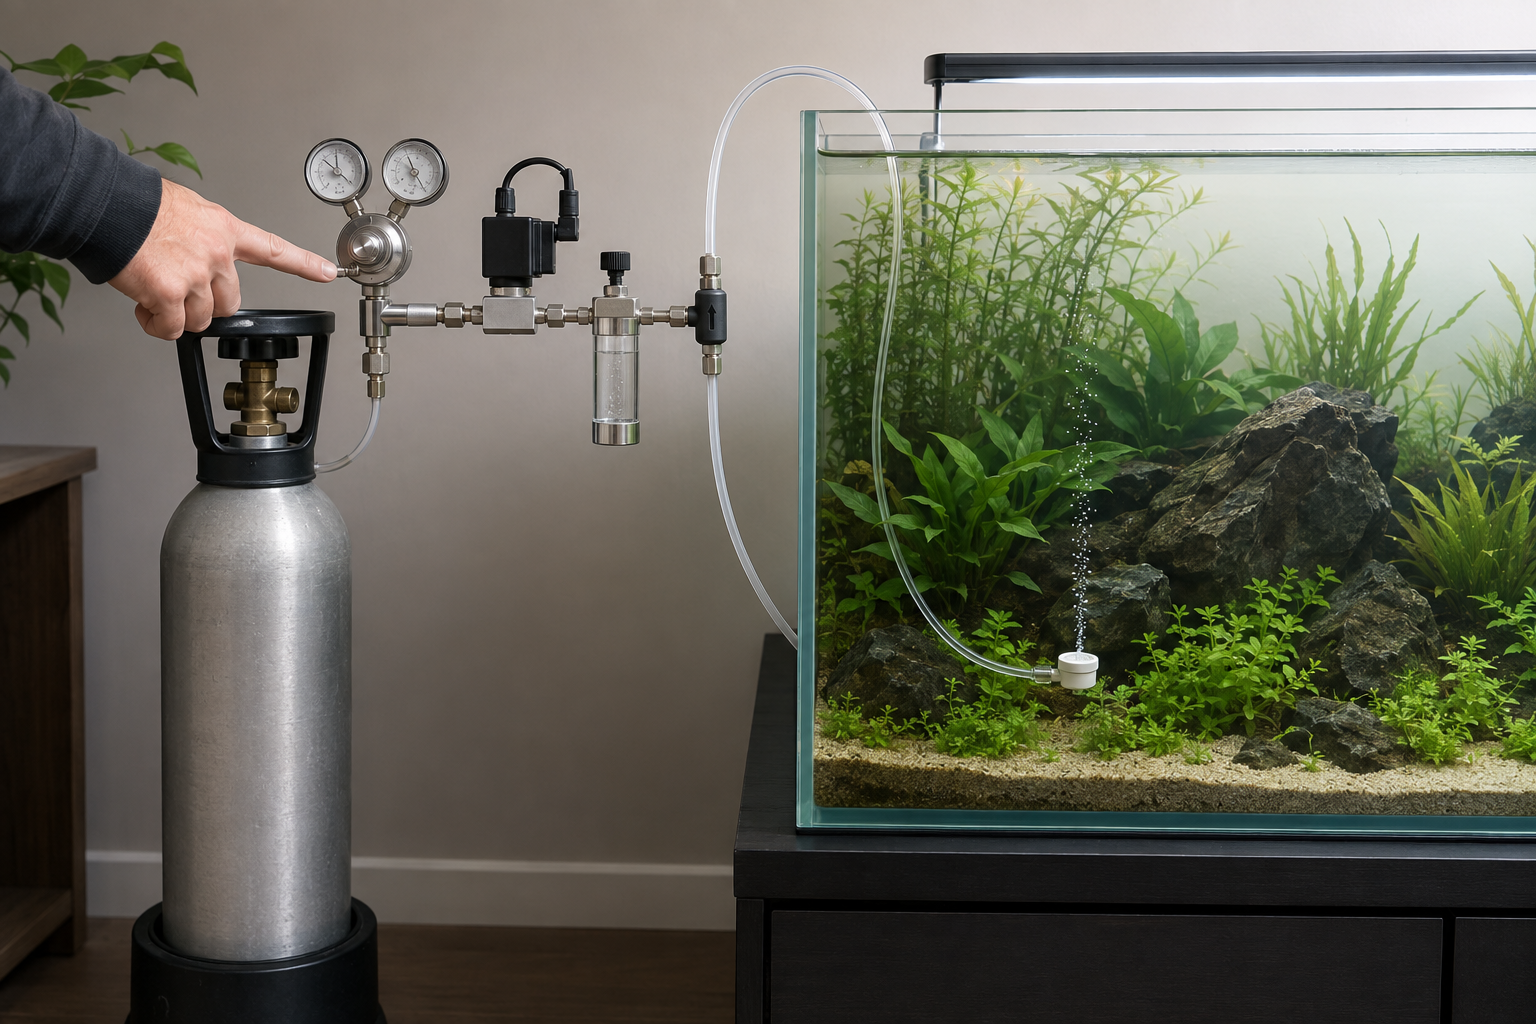
Unstable planted-aquarium CO₂ is a systems fault, not a prompt to turn the needle valve. Trace supply, timing, containment, diffusion and circulation in that order while the light and other plant inputs stay stable.
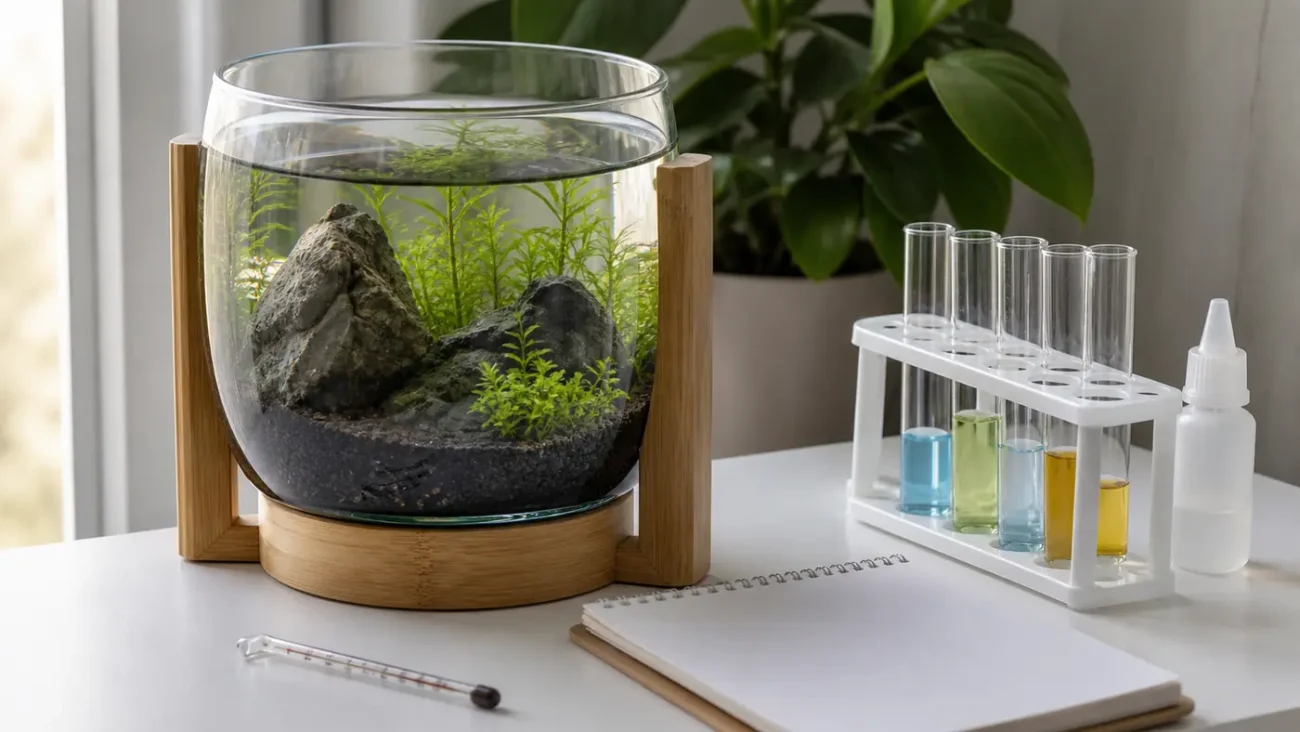
First decide which failure you actually have
- No delivery: no movement in the bubble counter or no output at the diffuser when the system should be on.
- Delayed delivery: the solenoid opens, but output begins much later or fails to restart after the night shut-off.
- Changing delivery: output is different early and late in the injection period or changes from day to day.
- Poor distribution: output is visible, yet circulation carries it to only part of the planted area.
- Plant problem without proven CO₂ fault: growth is weak, but delivery has not been measured or a second plant requirement may be limiting.
These are different branches. Do not increase injection until the branch is known.
The supply-to-tank troubleshooting path
1. Source and regulator
Read the source and regulator manuals before touching a pressurised connection. Check whether the cylinder or cartridge is depleted using the maker’s gauges or documented method. Confirm that the regulator matches the cylinder standard and that the working pressure remains within the connected equipment’s range.
Do not dismantle a pressurised regulator, heat a cylinder, improvise adapters or use oil/grease on gas fittings. If a gauge, thread, valve or seal is damaged or uncertain, close the system by the documented sequence and use a qualified supplier.
2. Timer and solenoid
Observe the actual switching time instead of trusting the programmed screen. Verify power, time zone, manual override state and whether the solenoid clicks or changes state. A light timer changed for daylight saving, a smart plug offline or a controller that lost memory can make plant symptoms look like a gas problem.
If the solenoid becomes unusually hot, buzzes, leaks or fails to close, stop using it and follow its service guidance. Do not leave an uncertain valve energised near water.
3. Containment and check valve
Trace CO₂-rated tubing from regulator to diffuser. Look for kinks, hardened ends, loose connections and the arrow or orientation on the check valve. Test for leaks only by the equipment maker’s approved method; never use a flame. Multiple spring-loaded check valves can increase the pressure needed to restart, and some bubble counters or inline diffusers already contain one.
4. Diffuser or reactor
Check whether the membrane was prepared, mounted and operated within the exact product instructions. Deposits can increase back pressure and change bubble size. Remove and clean or replace the component by its documented method rather than forcing gas through it. The CO₂ diffuser guide compares in-tank, reactor, inline and low-pressure options.
5. Circulation
Output at the diffuser does not prove distribution. Observe the filter return across the full lighting period, check for a clogged intake or declining flow, and note hardscape or plant mass that blocks the circulation loop. Reposition equipment within its instructions or restore filter performance before adding more gas.
Use indicators for trends, not instant permission
| Indicator | Useful for | Main limitation |
|---|---|---|
| Bubble counter | Comparing the same equipment with itself over time | Bubble size is not standard across counters; it does not measure dissolved concentration. |
| Drop checker | Delayed visual trend at one location when prepared and used correctly | It lags behind current conditions and does not show uniformity or immediate livestock safety. |
| pH measurement | Documented comparison when test method, timing and water chemistry are understood | Interpretation is chemistry-dependent; a universal target can be unsafe. |
| Plant pearling | An observation about gas release under current conditions | It is not a direct CO₂ concentration meter and varies with light, flow and plant state. |
| Livestock behaviour | Immediate welfare warning | Distress is an emergency signal, not a tuning target. |
When poor growth is not proof of low CO₂
Old or shipping-damaged leaves, unsuitable species, shaded placement, inadequate overall light, unstable fertilisation, root damage, temperature mismatch and plant transition can all produce weak growth. Use the newest leaves and the exact plant’s grower profile.
- Long internodes or leaning growth
- Check light distribution and plant placement as well as carbon delivery.
- Pale or distorted new leaves
- Do not guess a nutrient or add extra CO₂. Review the complete nutrition and water-care record.
- Only one area performs poorly
- Distribution, shading or substrate conditions may be local.
- Algae followed a CO₂ change
- Return to the last safe documented setting and correct instability; do not compensate by changing light and fertiliser together.
A controlled restart record
- Record the exact equipment, cylinder/source state and every current setting.
- Confirm that the light timer is stable and make no optional lighting change.
- Correct one verified hardware or timing fault.
- Restart using the equipment maker’s commissioning sequence.
- Observe output at start-up, mid-period and before shut-off, plus livestock throughout.
- Compare the same drop-checker location and the next healthy plant growth over subsequent maintenance visits.
Write down a change immediately. A tiny needle-valve movement that is not documented is impossible to separate from a timer, pressure or flow change later.
Fault table for the maintenance visit
| Symptom | Check next | Do not |
|---|---|---|
| No bubbles at scheduled start | Power, timer, solenoid, source, valve direction and blockage | Immediately open the needle valve further. |
| Output fades during the day | Source pressure, regulator stability, leak and membrane condition | Assume a plant deficiency from the fading output alone. |
| Output restarts only after a long delay | Working pressure, check-valve count/direction, tubing length and diffuser requirement | Add extra valves without reading the layout. |
| Drop checker differs across the tank | Flow path, placement and indicator preparation | Treat one colour as the whole-tank concentration. |
| Livestock gather at the surface | Emergency oxygenation and species-specific welfare response | Wait for a plant or drop-checker reading. |
CO₂ troubleshooting questions
What bubble rate should I use?
There is no universal bubbles-per-second target because bubble size, tank conditions, equipment and livestock differ. Use the complete manufacturer’s commissioning and monitoring method.
Can I lower surface movement to keep more CO₂?
Do not sacrifice livestock gas exchange for a plant target. Adjust distribution and injection within the documented system while maintaining safe oxygenation.
Should CO₂ start before the light?
Follow the exact controller and equipment guidance, then verify real delivery and livestock response. The required lead time depends on the system; do not copy a fixed interval without evidence.
Manufacturer and plant-care sources
Build a planted aquascape starter kit
Begin with a simple layout foundation, then choose lighting and maintenance tools that match the plants and available space.
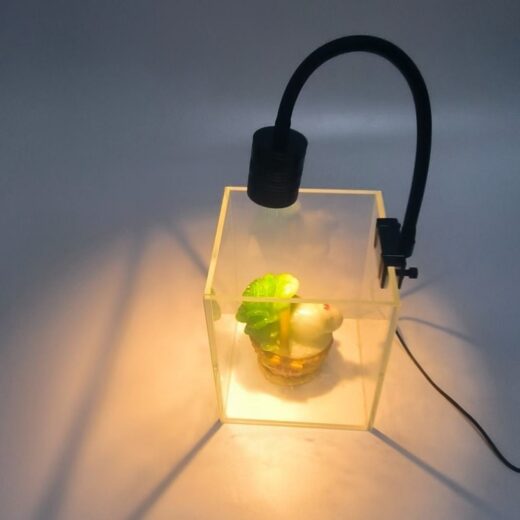
7 W USB Aquarium Plant Spotlight – Standard & Dimmable Models
Products matched to this guide
Selected for relevance to the setup and needs covered above.
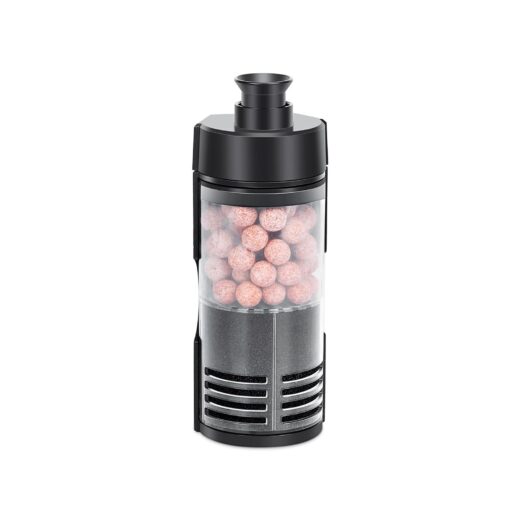
Bio Sponge Filter for Betta, Shrimp & Fry – 2–20 Gallons
Bring sponge and ceramic-media filtration together in a compact, air-driven filter. Choose Small for 2–5-gallon aquariums…
View product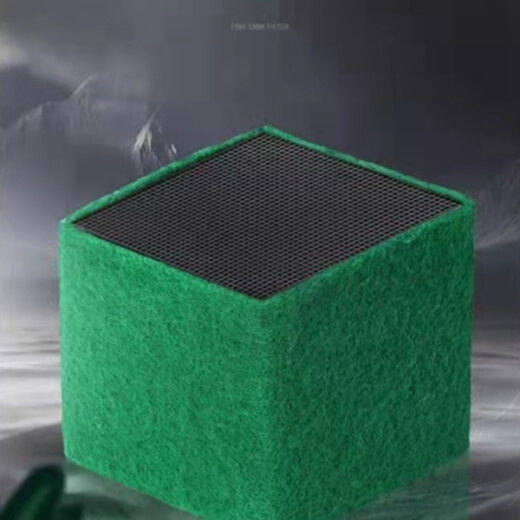
Filter Media Cube – Black/Green, Small/Large, 1–3 Pack
Cube-format aquarium filter media in black or green, small or large, with 1-, 2- and 3-piece…
View product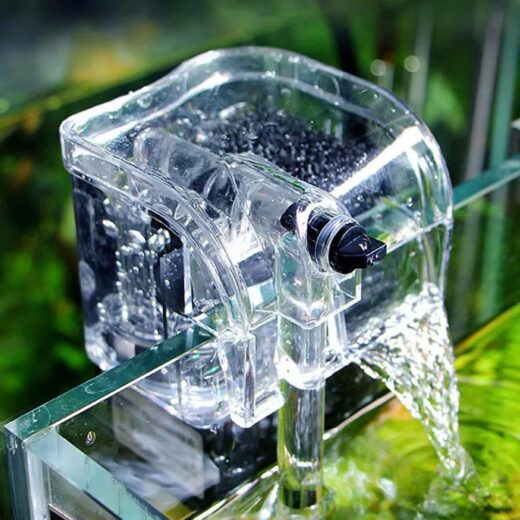
Nano Hang-On Back Aquarium Filter for Betta & Shrimp – 1–5 Gallons
Compact white hang-on-back filter for 1–5 gallon nano tanks, with adjustable flow, aeration and surface skimming.…
View product