
Aquarium Substrate & Hardscape
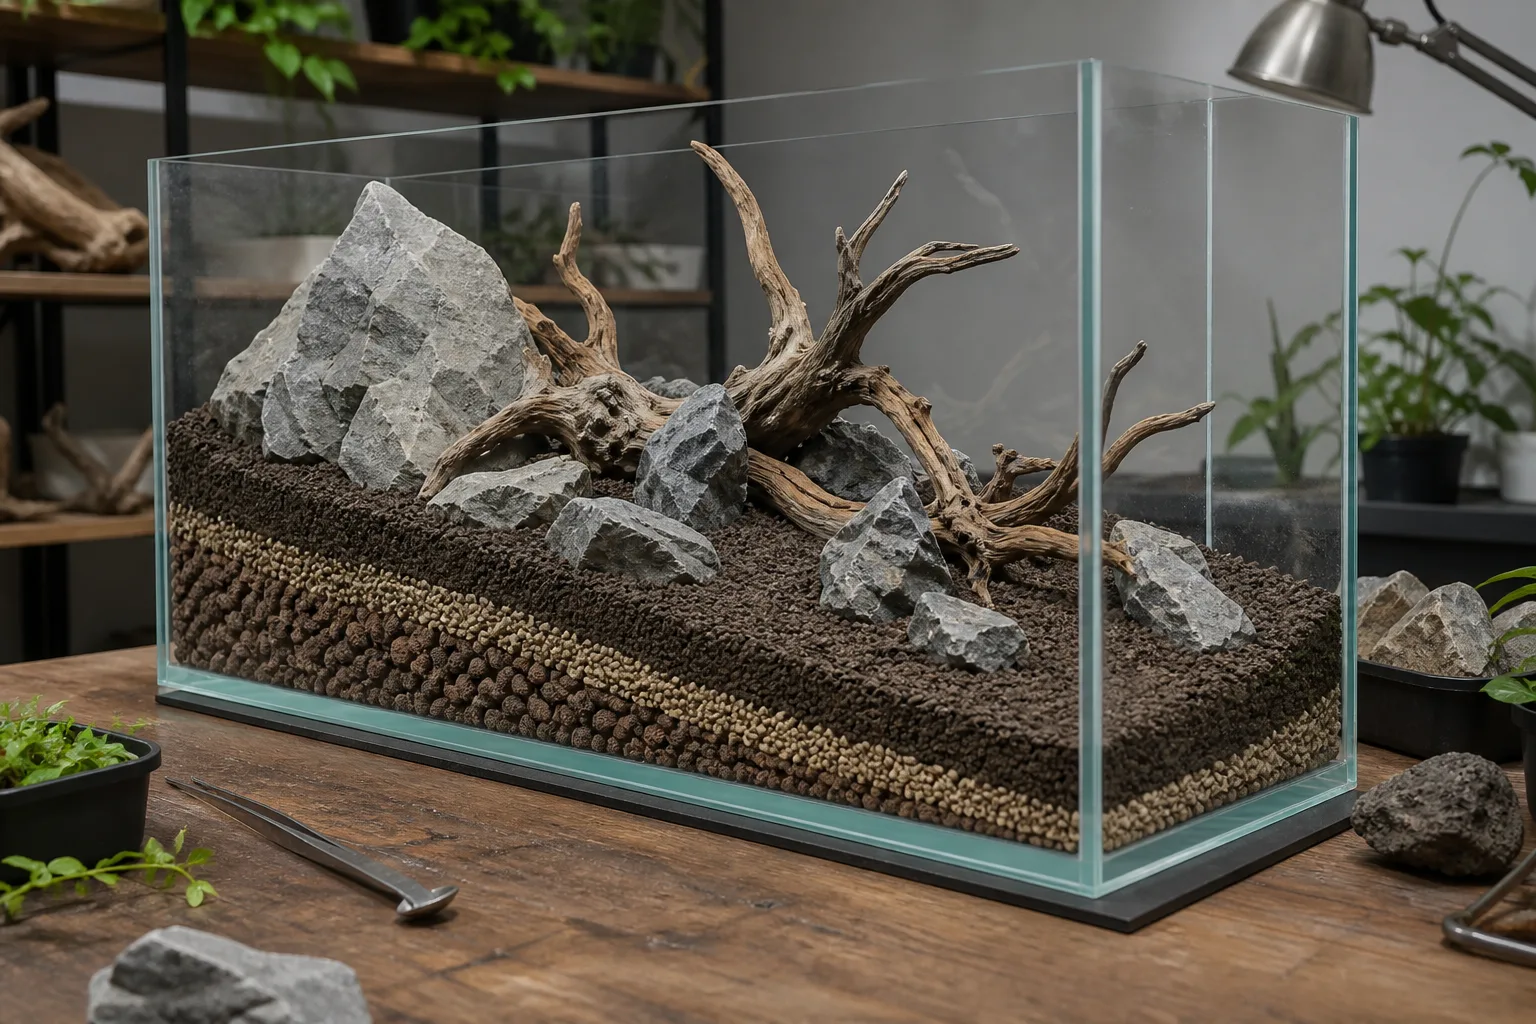
Use three separate decisions: how plants will be installed, what the exact product does to water chemistry, and how the layout will remain stable and serviceable. A photograph or the word “aquasoil” cannot answer all three.
Decision 1: planting method
Tropica’s planting guide distinguishes stem, rosette, carpeting, rhizome, floating, moss, bulb/tuber and stolon planting forms. Source: Tropica: Planting.
Tropica states that Anubias and Microsorum rhizomes should not be covered. Source: Tropica: Planting.
Map each plant to a planting form before drawing substrate depth. Plants attached to wood or stone do not justify a deeper root zone by themselves.
Decision 2: exact product chemistry
Tropica states that its Aquarium Soil lowers pH, slightly affects water chemistry and has product-specific first-four-week water-change instructions. Source: Tropica: Aquarium Soil.
If the exact product sheet is missing, chemistry is unknown. Do not use colour, grain size or supplier category as a substitute.
Decision 3: buildability and access
- Dry-fit the footprint outside the aquarium.
- Mark plant zones and equipment access.
- Record which pieces carry load and which are decorative.
- Keep a removal path for maintenance.
- Stop if structural stability or material suitability is uncertain.
Draw the cross-section, not just the front view
A front-view sketch shows composition; a side-view sketch shows where the plan may become unserviceable. Mark the visible substrate line, planting zones, buried support areas, equipment clearance and the water volume displaced by hardscape. Keep unknown material suitability and load-bearing assumptions visibly unresolved.
Do not turn a desired slope into a depth prescription. The drawing should show how the shape is retained, where plants are inserted and how debris or equipment can be reached. If the design depends on a hidden bag, support or adhesive, identify the exact item and its documented aquarium suitability before treating the build as ready.
Match the build route to the planting route
| Layout route | Planning emphasis | Evidence still required |
|---|---|---|
| Rooted planting bed | Plant zones, insertion access and product-specific substrate instructions | Exact plant and exact substrate |
| Rhizome-led hardscape | Attachment points, exposed rhizomes and removable hardscape | Exact plant and attachment method |
| Open sand foreground | Visual boundary, maintenance access and separation from planted zones | Exact material and layout method |
| Stone-led composition | Stable dry fit, viewing angle and space for mature plants | Material identity and structural plan |
Failure modes to catch on paper
- A chemistry claim copied from a different substrate product.
- A deep planted zone added for plants that are not rooted there.
- A slope with no documented retaining method.
- Hardscape that blocks intake, outlet or maintenance access.
- A quantity estimate that ignores displacement and offcuts.
- A layout that is attractive only before plants reach their planned size.
If the planting plan includes root-zone products, compare liquid fertiliser and root tabs before deciding how the substrate will be used.
Choose the next guide
- Compare aquasoil, sand and gravel evidence
- Plan substrate depth and slope
- Estimate hardscape quantity with stated assumptions
- Review driftwood preparation boundaries
Calculate substrate volume for this layout using the planned floor area, front depth, back depth and optional reserve.