
Planted Aquarium Substrate Depth and Slope Guide
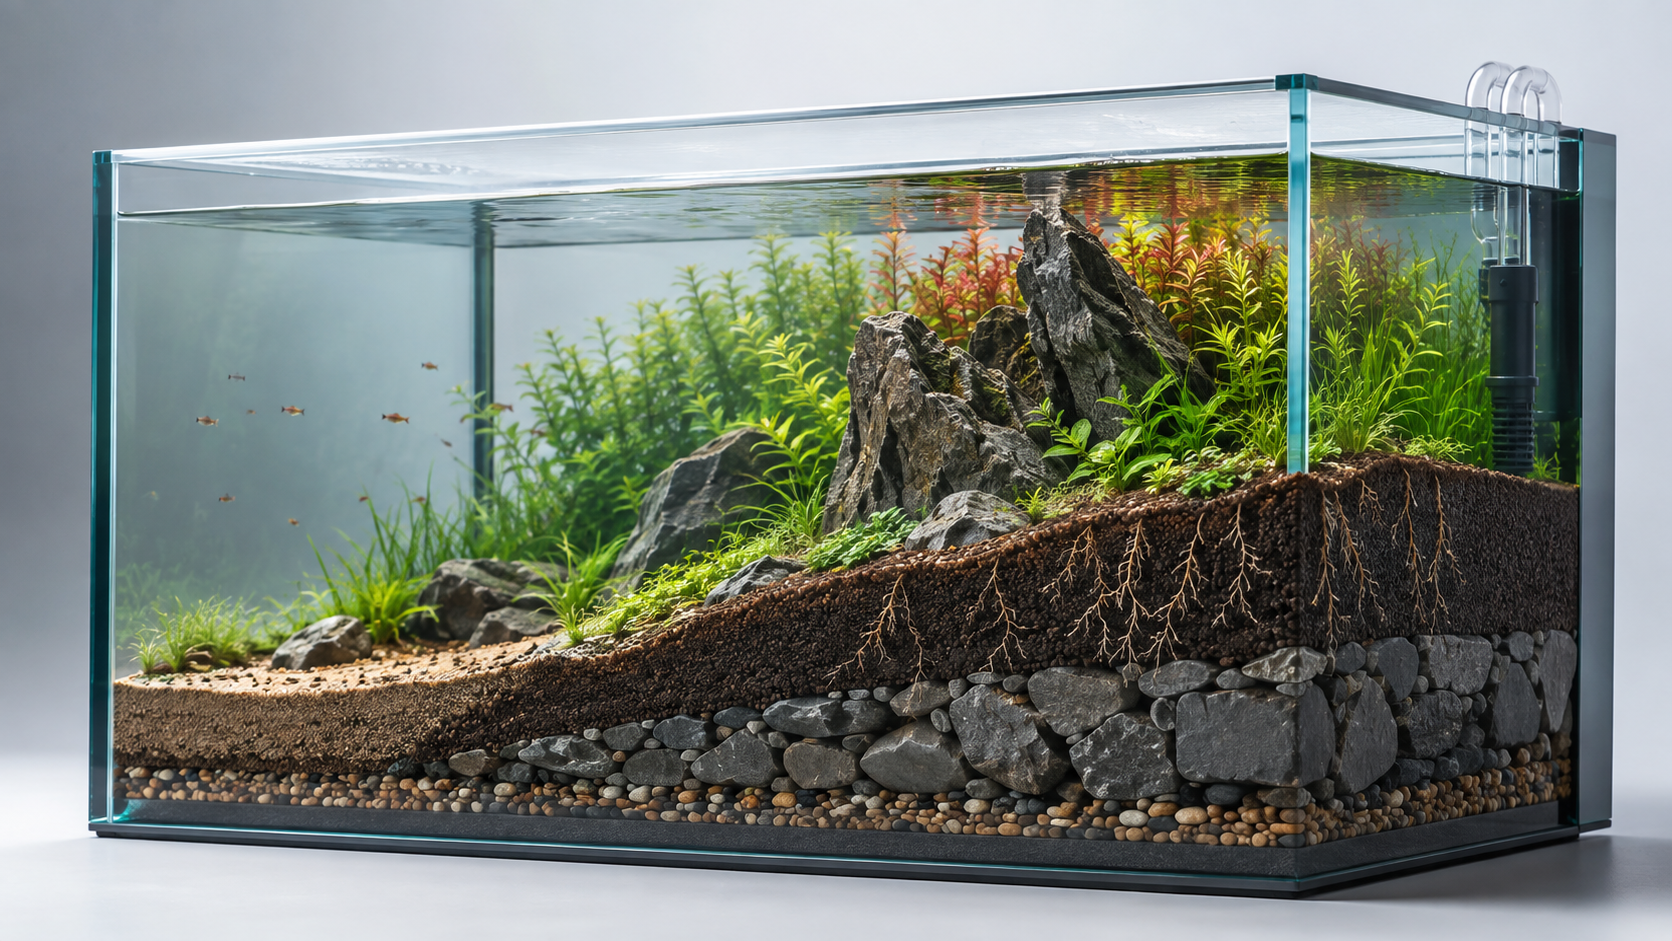
Substrate depth must anchor the selected roots and hardscape while remaining stable, maintainable and appropriate for the exact material.
Follow the substrate manufacturer’s depth and start-up instructions. Use enough planting depth for rooted species, avoid unsupported extreme slopes, preserve the front glass cleaning line and account for displacement from rocks and retaining structures.
Depth starts with the substrate system
“Aquarium soil”, “plant substrate”, sand and gravel are not interchangeable instructions. Some products are complete planting media. Others are nutrient layers that must remain under a cap. Inert sand or gravel may anchor roots but does not automatically provide the same root nutrition as an active or nutrient-bearing product.
| Material in the planting zone | Check before planning depth | Do not assume |
|---|---|---|
| Active aquarium soil | The brand’s recommended profile, start-up routine and stated effect on water chemistry | That instructions for another soil apply |
| Nutrient base layer with a cap | The required cover material and how the layers should be maintained | That the lower layer can remain exposed |
| Inert sand or gravel | Whether the chosen plants can anchor in it and how root nutrition will be supplied | That a deeper inert bed becomes nutrient-rich by itself |
| Cosmetic path or open foreground | Stability, access for surface cleaning and separation from neighbouring soil | That a loose boundary will stay sharp after filling and maintenance |
Tropica’s plant-care guidance distinguishes a nutrient substrate used below gravel from its aquarium soil, which has its own water-chemistry and start-up instructions. That is why the product label—not a universal number from another aquascape—must set the final specification. See Tropica’s overview of substrate and aquarium soil.
Draw the bed as a cross-section
A top-down plan shows where the rocks and plants go; a side view reveals whether the substrate can actually support that plan. Mark these zones:
- the front-glass strip that must remain reachable for cleaning;
- rooted planting areas and the mature footprint of each plant group;
- the base of every heavy stone or piece of wood;
- raised areas, terraces and the barriers that hold them;
- open sand paths and likely debris traps.
For a simple level bed, volume is the tank’s planted floor area multiplied by the average planned depth. A sloped or terraced layout needs a zone-by-zone estimate. Treat the result as a purchasing estimate, then allow for the volume displaced by hardscape rather than quietly adding more material to compensate.
Calculate substrate volume from your planned cross-section with a level or front-to-back slope and optional reserve.
Give rooted plants depth only where they need it
Rooted foreground, mid-ground and background plants need enough suitable material to stay anchored while they establish. Epiphytes attached to rock or wood do not justify making the whole bed deeper. A layout dominated by Anubias, Microsorum or moss can therefore use a different substrate profile from one built around large rooted rosettes or dense stem groups.
Root nutrition is also product-specific. If capsules, tablets or a base layer are part of the plan, use the maker’s placement and dosing directions; do not turn a general depth guide into an improvised fertiliser schedule. For plants fixed to hardscape, see the epiphyte planting guide.
Make the slope structural, not decorative
A modest rise towards the rear can add visual depth. ADA’s setup guide also advises keeping the front substrate line neat and avoiding an unnecessarily thick front edge. See ADA’s Nature Aquarium setup process.
The visual slope still has to survive water flow, planting and routine tool work. Do not rely on a tall bank of loose material to support heavy hardscape. Seat major pieces on a stable base and use an aquarium-safe retaining method where the profile would otherwise migrate. Check that every stone and piece of wood is stable before filling; plants should not be the component preventing a collapse.
Fill slowly so the water does not cut channels through the bed. ADA’s process pours water gently to avoid hollowing the substrate surface. If a path or terrace moves during filling, repair the support rather than repeatedly pushing loose material back into place.
Design for the maintenance you will actually do
Leave enough room to clean the front glass without dragging soil into a sand path. Avoid narrow pockets behind rocks that cannot be reached with a siphon or planting tool. If the product instructions warn against disturbing a lower nutrient layer or deep-cleaning an active soil, the layout must make surface care possible without mixing those layers.
Replanting matters too. A deep rear zone may hold tall rooted plants well, but it becomes frustrating if stonework blocks tweezers from reaching the roots. Before filling, rehearse the path of the tools you will use for planting, trimming and debris removal.
Pre-fill check
- The exact substrate and cap instructions are available.
- Rooted and non-rooted planting zones are marked separately.
- Heavy hardscape remains stable without support from loose granules.
- Raised areas have a physical retaining plan.
- The front glass and open paths remain serviceable.
- The quantity estimate accounts for slopes, terraces and hardscape displacement.
- The initial water-change and start-up routine follows the chosen product. Tropica notes that the early growing-in period needs deliberate light, water-change and equipment management; see its growing-in guide.
Related planning guides
- Aquarium substrate and hardscape guide
- Aquasoil vs sand vs gravel
- Comparing aquascaping stone types
- Preparing aquarium driftwood
- Using proportion in an aquascape
Next step: For a small footprint, pair this cross-section plan with the nano aquascape design guide so scale, equipment access and maintenance space are resolved together.
Build a planted aquascape starter kit
Begin with a simple layout foundation, then choose lighting and maintenance tools that match the plants and available space.
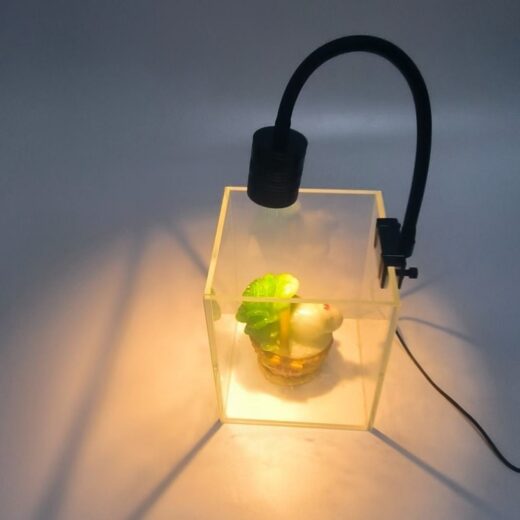
7 W USB Aquarium Plant Spotlight – Standard & Dimmable Models
Products matched to this guide
Selected for relevance to the setup and needs covered above.
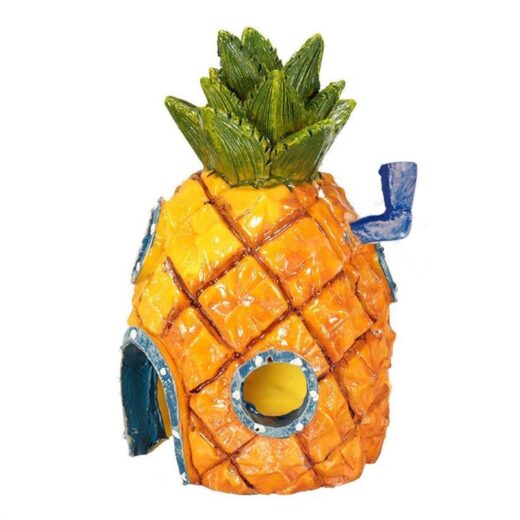
Pineapple House Aquarium Decoration – Resin 13 cm
A playful pineapple-house ornament made from resin. The compact design measures approximately 7.5 × 7.5 ×…
View product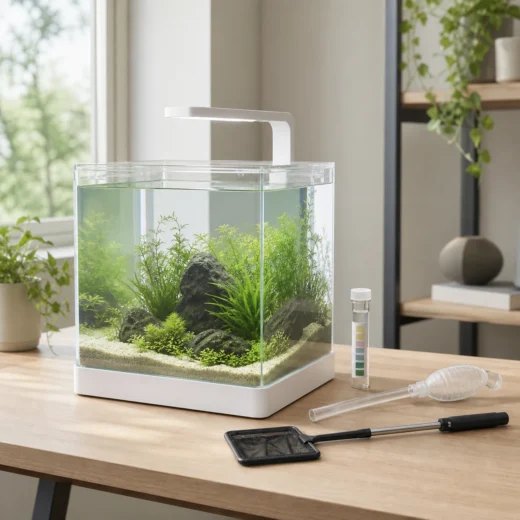
Desktop Aquarium Quick-Start Bundle
Four-piece desktop aquarium starter bundle with an acrylic tank system, 6-in-1 test strips, manual siphon cleaner…
View product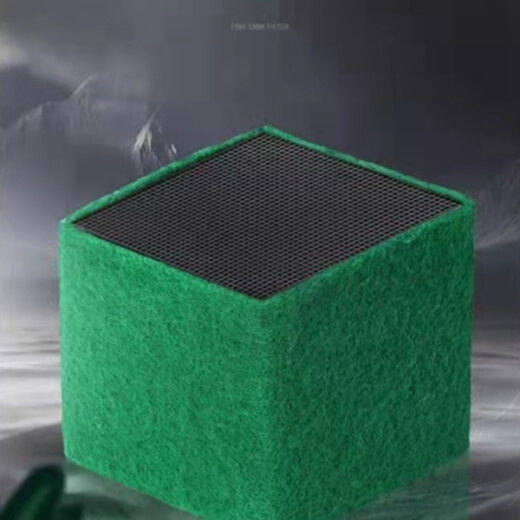
Filter Media Cube – Black/Green, Small/Large, 1–3 Pack
Cube-format aquarium filter media in black or green, small or large, with 1-, 2- and 3-piece…
View product