
Epiphyte Aquarium Plants for Rock and Driftwood
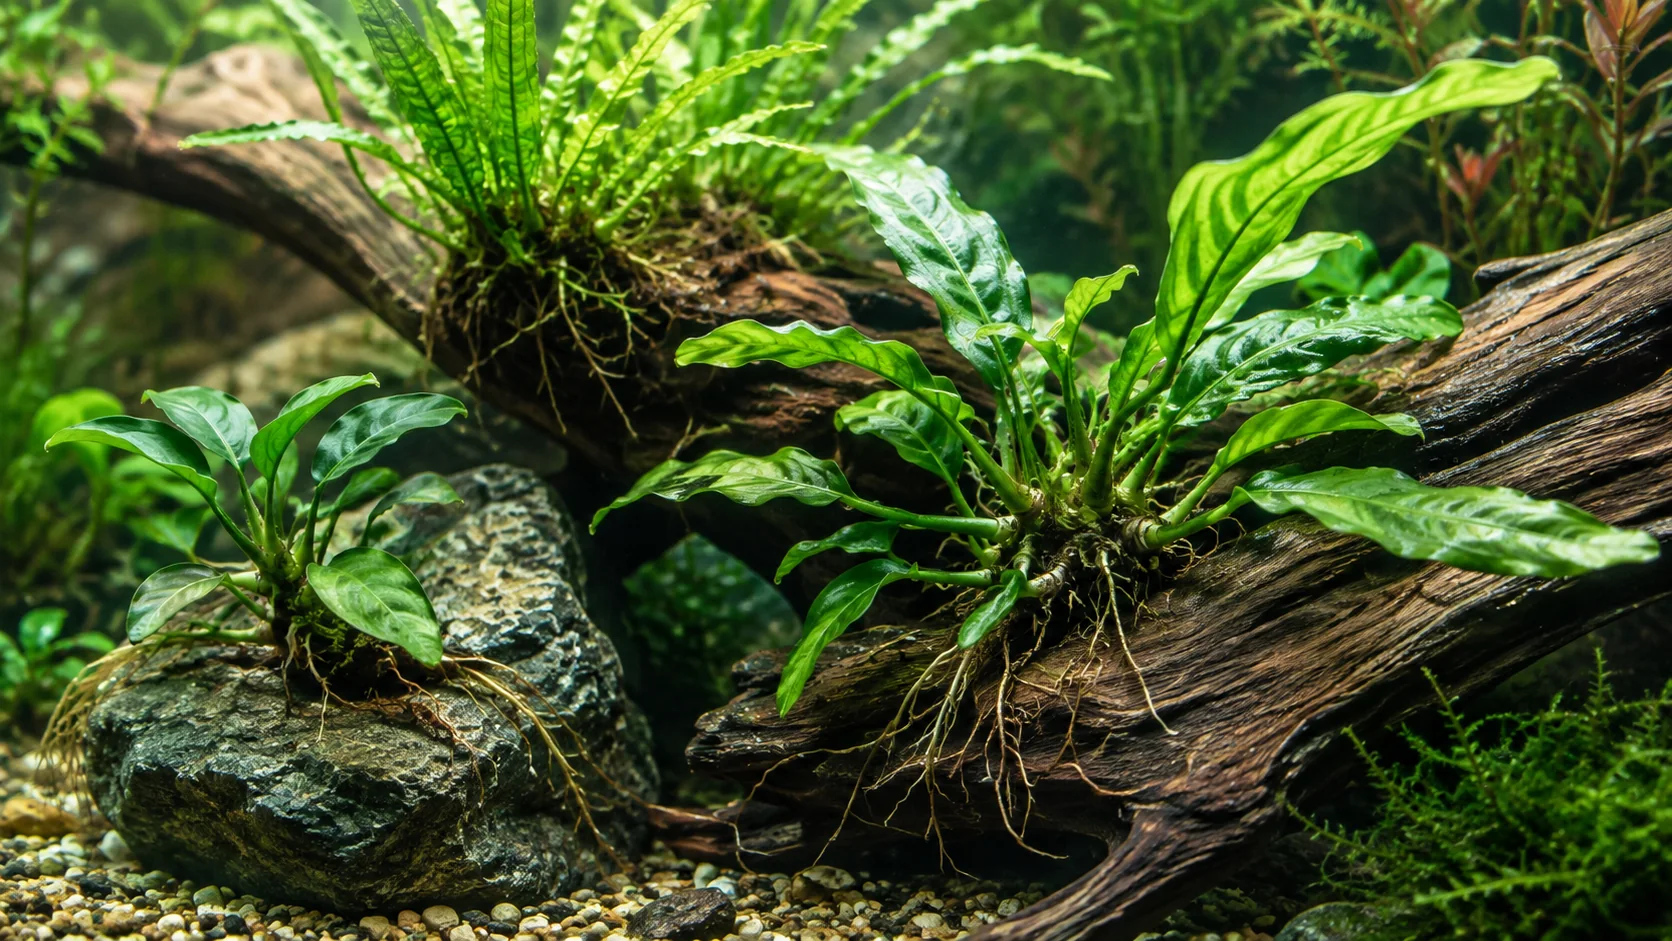
Epiphyte aquarium plants turn rock and driftwood into planting surfaces, but “attach it to wood” is not enough: plant anatomy, mature size, fastening and maintenance access all matter.
First identify the plant’s growing structure
A rhizome is the horizontal stem from which leaves and roots emerge. The roots may sit against rock, wood or a small stone, but the rhizome itself should remain exposed. Tropica’s planting guide specifically warns against covering the rhizomes of Anubias and Microsorum and recommends tying them on or securing them between stone or wood. See Tropica’s planting instructions.
Moss does not follow the same rule because it has no comparable rhizome to position. It can be spread thinly over a surface and secured until it grips, but it needs access for trimming and debris removal. Do not treat every plant sold “on wood” as if it has the same anatomy or care requirements.
Choose a plant by its verified name, not the display label
| Plant group | Useful placement | Verification before purchase |
|---|---|---|
| Anubias | Rock or wood where the rhizome can remain visible and the leaves stay reachable | Exact species or cultivar, mature size, supplier light range and water-temperature range |
| Microsorum | Rock, wood or a hidden small stone in the mid-ground | Exact variety, mature leaf size and stated water requirements |
| Bolbitis | Stable stone or wood with room for its eventual spread | Species identity and the supplier’s water and carbon guidance |
| Moss | A thin layer on accessible rock, wood or aquarium-safe mesh | Species identity, attachment method and trimming behaviour |
ADA’s planting process identifies Microsorum, Bolbitis and Anubias as epiphytic plants and demonstrates securing their roots around a small stone before placing them with the hardscape. See the ADA Nature Aquarium setup process. The example is a method, not a promise that every cultivar suits every aquarium.
Pick the attachment point before the fastening method
The best-looking position is not always the most workable one. Choose a stable surface that remains reachable for pruning and cleaning. Leave room for the plant’s documented mature spread, and avoid a crevice that forces the rhizome under the substrate as roots develop.
Check the position against measured aquarium conditions. A plant near the surface or directly under the brightest part of the lamp may receive very different light from the same plant under a branch. Across UAE and GCC homes, as well as seasonally heated rooms in the UK, Germany and the Netherlands, compare the supplier’s temperature range with the water temperature you actually record—not the thermostat setting or regional reputation of the plant.
Use the least complicated secure attachment
- Thread: useful for tying a rhizome or a thin moss layer to a stable object. Keep knots and loose ends where fish or invertebrates cannot catch them, and remove non-degrading thread after the plant is secure.
- Aquarium-safe mesh: useful for some moss layouts. Cover sharp edges and make sure livestock cannot enter a gap beneath the mesh.
- Adhesive: use only a product whose maker explicitly documents aquarium and plant use. Apply the minimum needed at the attachment point and do not coat the rhizome.
- A natural wedge: can work when the plant sits securely without crushing the rhizome or creating an unstable piece of hardscape.
Fastening is temporary support, not a substitute for stable rock or wood. If the hardscape shifts when touched, correct that first.
Manage leaves and moss as separate jobs
Slow-growing leaves hold visible damage and settled waste for longer than fast stem plants. Position the outlet so there is circulation around the hardscape without a jet that dislodges new plants. During maintenance, remove loose debris from around the leaves and attachment point, then prune declining leaves at their base with clean tools.
For moss, start with a thin, even layer rather than a thick pad. ADA’s guide attaches a thin layer of willow moss to wood and trims protruding growth. As the moss thickens, inspect the shaded underside and trim before the mat becomes difficult to clean. The correct interval depends on the moss and aquarium, so use growth and debris accumulation rather than a fixed calendar.
Read the plant’s response at the attachment point
- The plant will not stay put: check the fastening and hardscape stability before changing light or fertiliser.
- The rhizome is soft or buried: expose it and compare the planting method with the supplier’s directions.
- New leaves are repeatedly damaged: inspect livestock behaviour, nearby equipment and the attachment material.
- Waste collects between leaves or under moss: improve access and local circulation rather than hiding the area with more growth.
- The plant remains alive but does not match the planned scale: recheck the exact cultivar and mature size before relocating it.
Continue planning the planted layout
- Aquarium plants guide
- Carpet plants by system demand
- Lower-demand plants for warm indoor conditions
- Planning a shrimp-conscious aquascape
- Receiving live plants in GCC heat
Build a planted aquascape starter kit
Begin with a simple layout foundation, then choose lighting and maintenance tools that match the plants and available space.
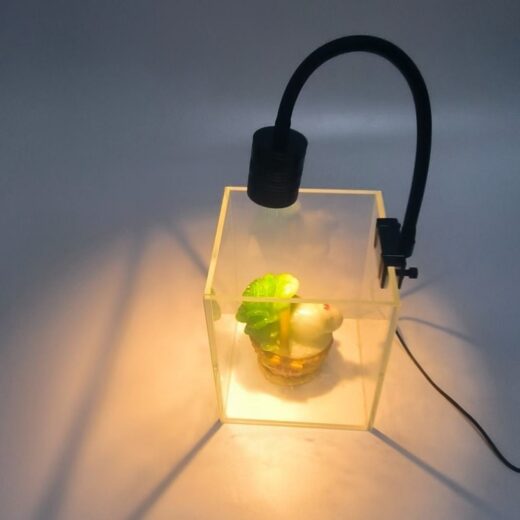
7 W USB Aquarium Plant Spotlight – Standard & Dimmable Models
Products matched to this guide
Selected for relevance to the setup and needs covered above.
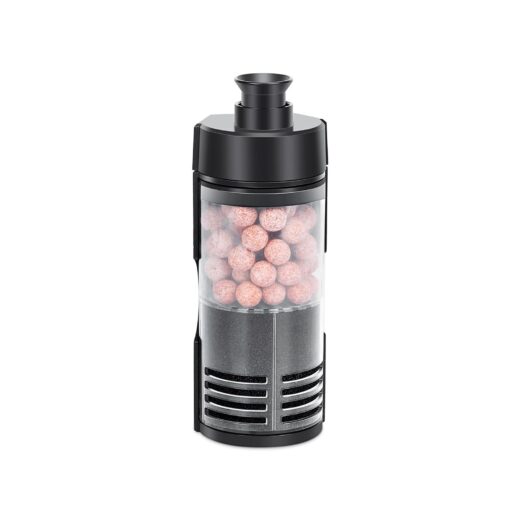
Bio Sponge Filter for Betta, Shrimp & Fry – 2–20 Gallons
Bring sponge and ceramic-media filtration together in a compact, air-driven filter. Choose Small for 2–5-gallon aquariums…
View product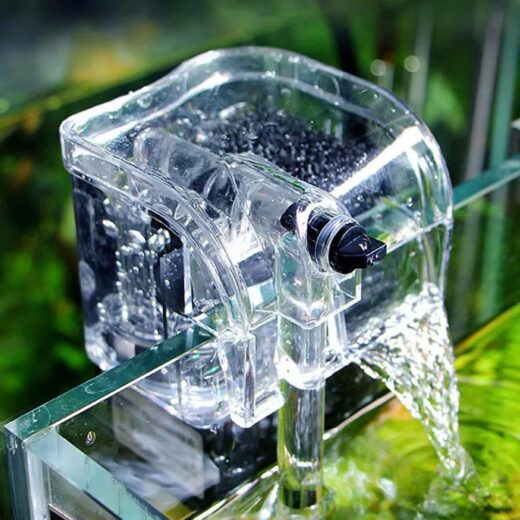
Nano Hang-On Back Aquarium Filter for Betta & Shrimp – 1–5 Gallons
Compact white hang-on-back filter for 1–5 gallon nano tanks, with adjustable flow, aeration and surface skimming.…
View product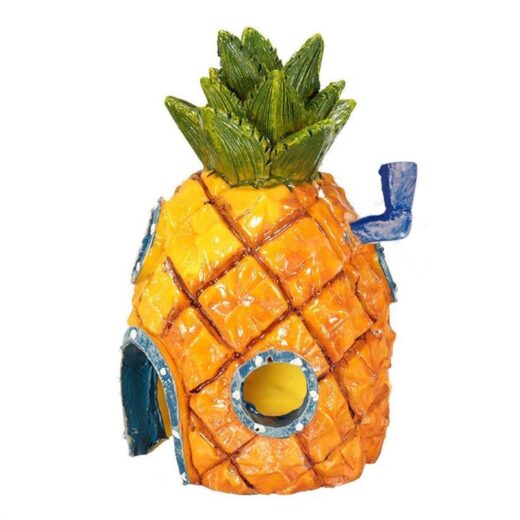
Pineapple House Aquarium Decoration – Resin 13 cm
A playful pineapple-house ornament made from resin. The compact design measures approximately 7.5 × 7.5 ×…
View product