
Nano Aquascape Design Guide: Scale, Depth and Stability
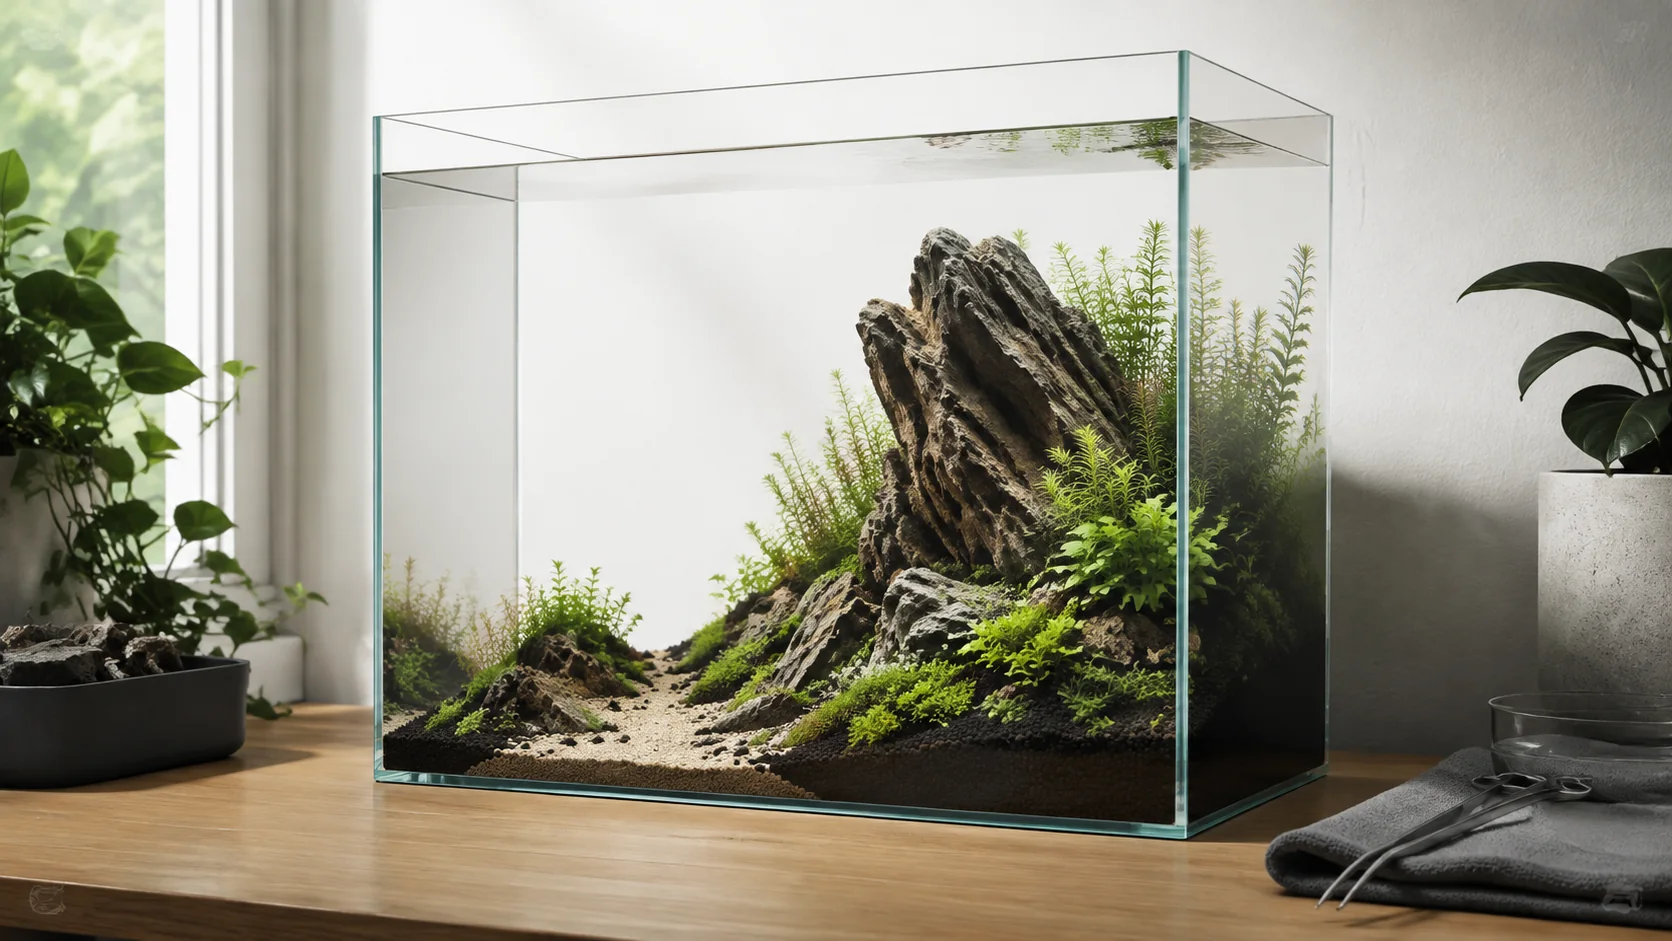
Nano aquascapes magnify every design and husbandry decision because hardscape, equipment and livestock share very limited real volume.
Use small-leaved plants, appropriately scaled hardscape, one clear focal hierarchy and enough open space for circulation and care. Calculate real water volume after displacement, choose equipment that fits without dominating the view and stock only species suited to the mature space and stability.
Start with the internal footprint, not the label on the box
Measure the usable length, width and height inside the glass. Mark the space taken by the substrate slope, filter components, heater if required, light mount and any lid hardware. This drawing shows where the aquascape can actually go and whether a tool can reach the glass and substrate later.
Nominal tank capacity is not the same as operating water volume. Substrate and hardscape displace water, and the chosen fill level may reduce it further. During the first controlled fill, record how much prepared water is added so future maintenance and any manufacturer-directed treatment can be based on the real setup.
Scale the hardscape to the aquarium and its access routes
Dry-fit the main stone or wood group before adding plants. Choose one dominant material and use smaller supporting forms to create depth. Leave visible space around the composition; filling every gap tends to make a nano layout appear smaller and can block water movement.
Check stability on the surface and with the substrate structure you intend to use. Do not rely on the glass to hold a leaning piece in position. The correct securing or preparation method depends on the identified material, so follow relevant aquarium and manufacturer guidance rather than improvising with an unknown adhesive.
Use plant form to reinforce the sense of scale
Small leaves, fine textures and controlled growth can help the hardscape read as a larger scene, but plant size is only one filter. Confirm the exact plant’s placement, light, carbon, nutrition and trimming needs. A compact photograph at purchase does not show how the species will occupy the tank after repeated growth.
Place slower focal plants where they will not be buried by fast stems. Keep spreading plants away from equipment gaps unless they can be trimmed without uprooting the layout. If a plant’s documented care is beyond the system you plan to maintain, select a different species rather than increasing every input.
Fit and service the equipment before finalising the view
Position the intake and outlet while the tank is still easy to rearrange. Confirm that water can move around the hardscape and that neither component will be hidden behind a plant group that must be removed for cleaning. Cables, lids and mounting brackets also need clearance outside the glass.
| Component | Check before purchase or placement |
|---|---|
| Filter | Stated operating range, adjustable flow if offered, intake safety, service access and replacement parts. |
| Light | Coverage of the actual footprint, mounting clearance, controllability and suitability for the selected plants. |
| Heater or cooling equipment | Need based on the livestock and measured room conditions, plus safe placement and control. |
| Electrical equipment | Destination voltage, frequency, plug and maker instructions for use near water. |
Select livestock for adult needs, not miniature appearance
Do not treat a nano tank as a reduced version of a larger community aquarium. Check the adult size, social behaviour, swimming or territorial space, water requirements and group needs of the exact species. The planted footprint and hardscape reduce open water, so the tank’s exterior dimensions alone cannot establish suitability.
Leave room to observe every animal and remove uneaten food or declining plant material. If reliable species-specific guidance does not support the mature setup, keep the layout plant-only or choose livestock that can be justified for the actual aquarium.
Prepare for quicker changes in a small water volume
Limited water volume provides less dilution when food, fertiliser or waste is added. Measure products according to their instructions, avoid estimating small doses by eye and keep the routine consistent enough to notice unusual temperature, flow or livestock behaviour early.
In UAE and GCC homes, inspect the tank’s temperature near windows and through air-conditioning cycles rather than relying on the room setting. In the UK, Germany and the Netherlands, consider local effects from radiators, cold windows and seasonal room changes. The useful value is the one measured at the aquarium.
Maintain the layout without taking it apart
Reserve a route for a siphon, algae tool and plant scissors. Trim before a group covers the intake or outlet, and remove weak leaves before they disappear behind hardscape. A layout that can only be cleaned by lifting its main structure will be difficult to keep stable.
After maintenance, refill against a surface that will not disturb the substrate. Check that hardscape remains stable and that equipment resumes normal operation. Use photographs from the same angle to judge whether open space and the intended depth have been lost as plants mature.
A build order that protects both scale and stability
- Measure the internal glass and draw the equipment and tool-access zones.
- Dry-fit one main hardscape group with supporting pieces and visible open space.
- Test stability and verify the identity and preparation needs of every material.
- Select plants whose documented mature form and care fit the intended system.
- Install and test the equipment without livestock.
- Fill with measured water and record the operating volume.
- Complete the applicable cycling process and assess livestock only from reliable species-specific requirements.
Tropica’s growing-in guide and success guide offer manufacturer context for establishing a planted tank. Use those resources alongside the instructions for the exact plants and equipment in your nano setup.
Related DaraSphere guides: Aquascaping Styles, 30-Litre Planted Tank Equipment and Aquarium Volume Calculator.
Next step: Once the layout footprint is stable, use the planted aquarium substrate-depth guide to plan rooted zones and serviceable slopes.
Build a planted aquascape starter kit
Begin with a simple layout foundation, then choose lighting and maintenance tools that match the plants and available space.
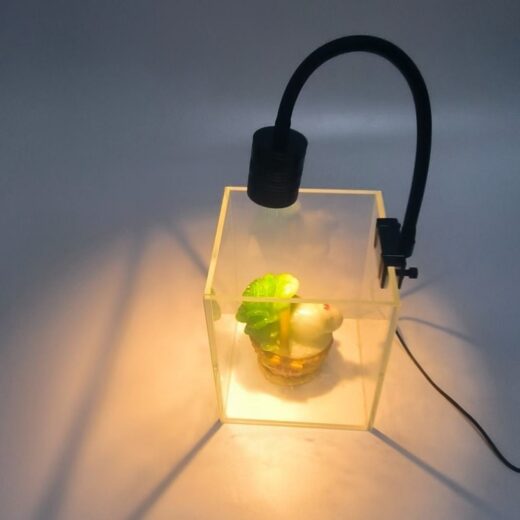
7 W USB Aquarium Plant Spotlight – Standard & Dimmable Models
Products matched to this guide
Selected for relevance to the setup and needs covered above.
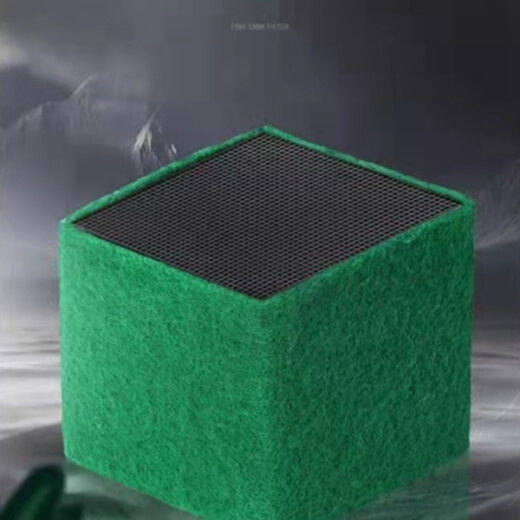
Filter Media Cube – Black/Green, Small/Large, 1–3 Pack
Cube-format aquarium filter media in black or green, small or large, with 1-, 2- and 3-piece…
View product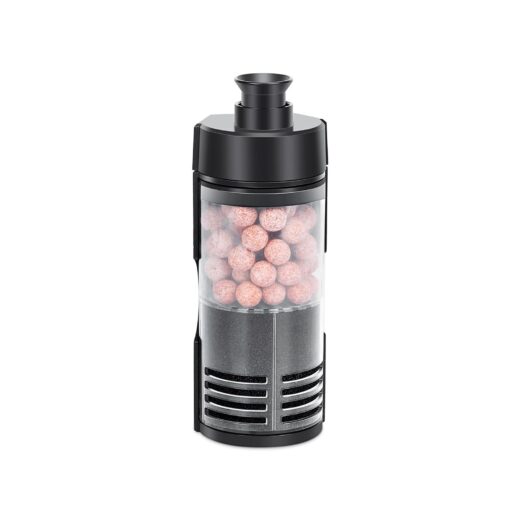
Bio Sponge Filter for Betta, Shrimp & Fry – 2–20 Gallons
Bring sponge and ceramic-media filtration together in a compact, air-driven filter. Choose Small for 2–5-gallon aquariums…
View product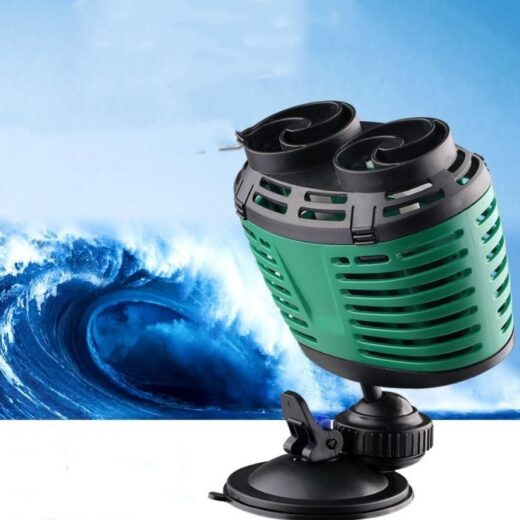
Silent Mini Aquarium Wavemaker – 200A/201A/202A
Compare the 200A, 201A and 202A mini aquarium wavemaker options; verify model, voltage, plug, mounting method…
View product