
How to Set Up and Calibrate an Automatic Fish Feeder
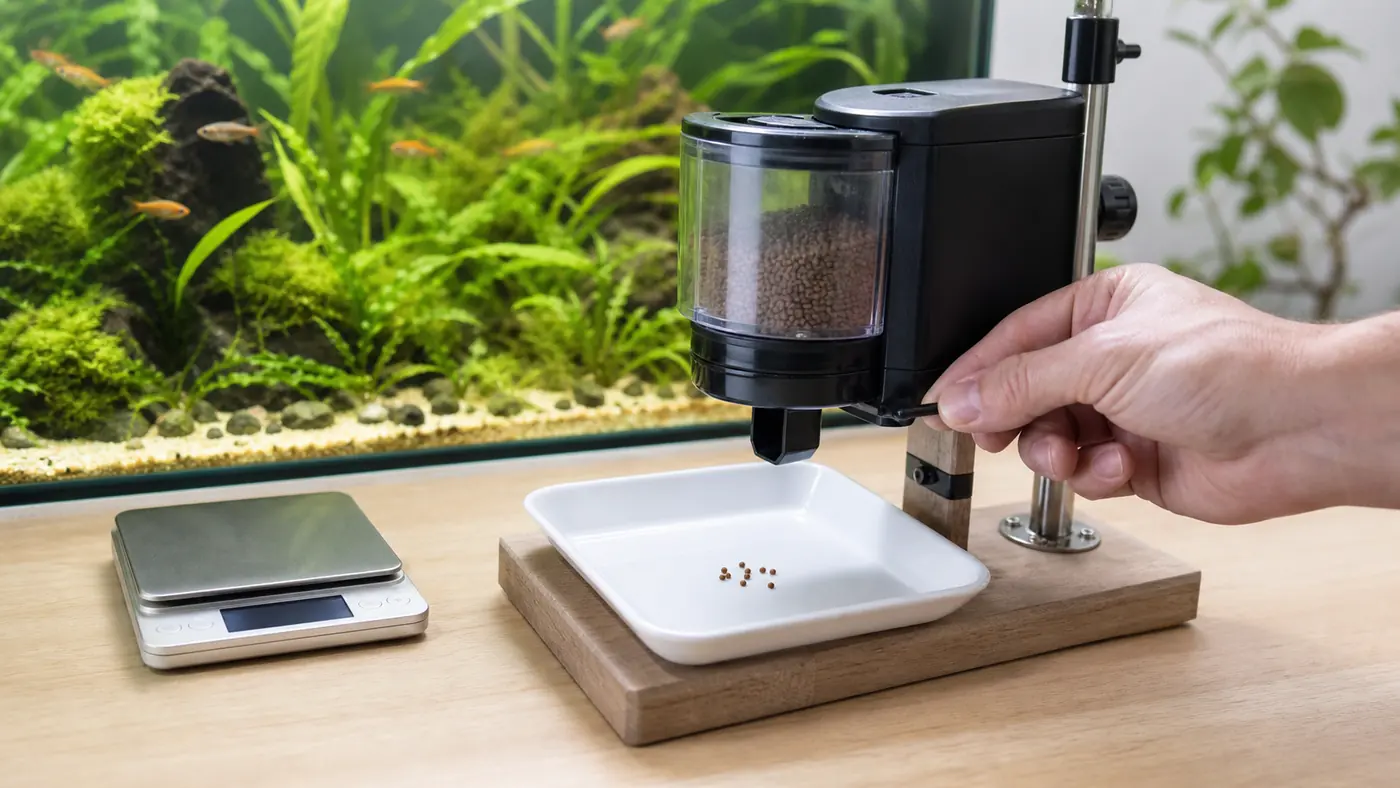
The safest place to test an automatic fish feeder is not above the aquarium. It is above a tray. (EHEIM autofeeder 3581 Operating Manual)
Calibration turns an outlet setting into something you can see and compare. It also exposes problems—oversized portions, missed cycles, damp food or an unstable mount—while you are still close enough to fix them.
Allow several days for the complete process, especially before travel.
Pair feeder calibration with the responsible feeding and welfare guidance for species-appropriate daily care.
What you need
- the feeder and its instructions;
- the exact dry food you plan to use;
- fresh batteries or the correct power supply;
- a white tray, plate or sheet of paper;
- a small scoop or scale, if available;
- a phone note or simple log;
- the aquarium measurements and mounting parts.
Do not use an unfamiliar food just because it seems easier to dispense. Check which fish foods work in automatic feeders first.
Step 1: Read the programming sequence
Feeder controls are not standardised. On some models, switching the unit on sets the first feeding time immediately. Others use a clock, interval or app schedule. A second portion may mean another meal later or a double release at the same time. (EHEIM autofeeder 3581 Operating Manual)
Before loading food, learn how to:
- set and cancel a feeding;
- identify active schedules;
- trigger a manual test;
- change the portion opening;
- check battery or power status;
- restore settings after interruption.
If the display or indicators are unclear, consult the manufacturer instructions. Guessing at a blinking light is not calibration.
Step 2: Inspect and clean the food path
Make sure the drum, outlet and removable food-contact parts are clean and completely dry. Look for packaging material, moulding debris or a stiff adjustment slider. (EHEIM autofeeder 3581 Operating Manual)
Do not apply household oil or lubricant to the food path. If a new feeder does not move smoothly according to its instructions, contact the seller rather than improvising. (EHEIM autofeeder 3581 Operating Manual)
Step 3: Fit the power source
Use the specified batteries or power adapter. Confirm polarity and close the battery cover fully. For a cable, route it away from water and use a safe drip loop. (EHEIM autofeeder 3581 Operating Manual)
Test what happens after a brief power interruption. Does the schedule remain stored? Does the clock reset? A feeder that quietly loses its programme needs a different backup plan. (EHEIM autofeeder 3581 Operating Manual)
Step 4: Load a modest amount of food
For initial testing, do not fill the chamber to maximum capacity. Add enough food for repeated releases while leaving room for it to move as designed. (EHEIM autofeeder 3581 Operating Manual)
Use one food format during the first calibration. Mixed particle sizes make it difficult to understand why portions change. (EHEIM autofeeder 3581 Operating Manual)
Step 5: Start with the smallest outlet
Place the feeder over the tray. Select the smallest practical opening and trigger one manual release. If nothing falls, increase by one small adjustment and try again. (EHEIM autofeeder 3581 Operating Manual)
Do not open the outlet widely just to see a visible result. A portion that looks small inside the drum can be excessive in a nano aquarium. (EHEIM autofeeder 3581 Operating Manual)
Step 6: Compare at least five releases
Collect each release separately. Photograph, count or weigh it. You are looking for reasonable consistency, not laboratory precision.
Record:
| Test | Setting | Food | Portion result | Notes |
|---|---|---|---|---|
| 1 | Minimum | Small pellets | Very small | Complete release |
| 2 | Minimum | Same | Similar | No jam |
| 3 | Minimum | Same | Larger | Check settling |
If portions vary greatly, inspect food size, chamber fill, outlet movement and moisture. A feeder that cannot produce a safe minimum portion is not suitable for that tank.
Step 7: Run the real schedule over the tray
Manual release proves the mechanism turns. It does not prove the timer is correct. (EHEIM autofeeder 3581 Operating Manual)
Programme the intended schedule and leave the feeder over the tray for at least a full cycle. For important travel use, observe several days. Check that each event occurs at the expected time and that settings remain active. (EHEIM autofeeder 3581 Operating Manual)
This stage also shows whether food changes after sitting in the chamber. Humidity, settling and breakage may alter later portions.
Step 8: Mount the feeder securely
Use the supplied bracket, base or fixing method. The feeder should not wobble when buttons are pressed. Confirm that:
- the mount fits the glass, rim or lid;
- the outlet is above an open feeding area;
- food cannot land on a solid cover;
- the feeder is away from splashing and condensation;
- the unit cannot fall into the aquarium;
- cables are safely routed.
Source for the preceding checklist: EHEIM autofeeder 3581 Operating Manual
Do not block ventilation, lighting or essential equipment to make the feeder fit.
Step 9: Check where food lands
Run one supervised release into the aquarium. Watch the entire path. Food should reach the fish, not disappear immediately into the filter, overflow or inaccessible decor. (Merck Veterinary Manual: Providing a Home for Fish)
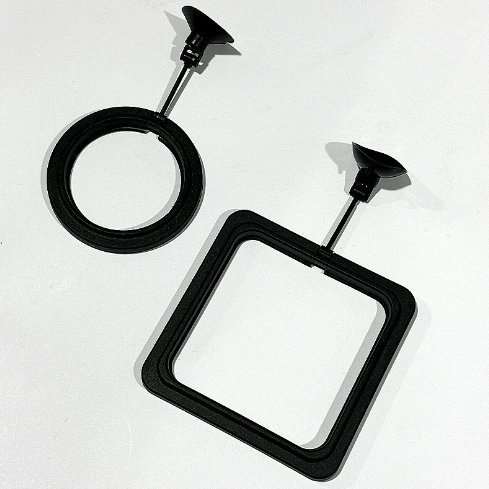
If necessary, change the mounting position or use an aquarium-safe feeding ring. Do not reduce essential circulation without understanding the consequences.
Step 10: Observe the fish through several cycles
Calibration is complete only when the portion works for the fish and the tank. Watch whether:
- intended fish can access the food;
- dominant fish take everything;
- food remains after feeding;
- sinking food reaches bottom dwellers;
- the feeder stays dry and secure;
- water quality remains stable.
Source for the preceding checklist: Merck Veterinary Manual: Nutrition in Fish
Use our aquarium feeding schedule guide to evaluate timing and frequency. If food remains, reduce the planned daily amount instead of assuming the fish will finish it later.
A three-to-seven-day trial
Before an extended absence, run the feeder while you are home. Keep normal aquarium checks and note every scheduled meal. Refill or change batteries only if needed, so the trial resembles the planned use. (RSPCA: What to Feed Your Fish)
At the end, inspect the outlet for dust, moisture and clumps. Compare the first and last portions. If the setup changed, recalibrate. (EHEIM autofeeder 3581 Operating Manual)
Common setup mistakes
Testing only once
One good release does not prove consistency. Food can settle or absorb moisture.
Filling the drum tightly
Packing food may prevent the mechanism from moving it correctly.
Calibrating with a different food
Particle size and density alter the portion. Test the exact product.
Programming without reading the manual
Intervals, clock times and double-feed functions are easily confused.
Leaving immediately after installation
The aquarium should experience several supervised cycles first.
Setting up DaraSphere’s 24-hour feeder
For any feeder with a 24-hour interval, confirm that the interval matches the established routine, verify dry-food flow at the smallest repeatable setting, and test the programmed schedule before unattended use.
For travel, continue with our holiday aquarium checklist.
Frequently asked questions
How many test portions are enough?
Five releases are a useful minimum for initial comparison, but a multi-day scheduled test gives better evidence before travel.
Should every portion weigh exactly the same?
Mechanical feeders may show small variation. The important question is whether the range remains safe and appropriate for the aquarium. (EHEIM autofeeder 3581 Operating Manual)
Why does the first portion differ from later portions?
Food may settle after filling, particles may separate or the chamber may rotate into a different distribution. Test early and late portions. (EHEIM autofeeder 3581 Operating Manual)
When should I recalibrate?
Recalibrate after changing food, outlet setting, mounting angle or refill level, and whenever portions appear different. (EHEIM autofeeder 3581 Operating Manual)
Test first, automate second
An automatic feeder should earn your trust through repeatable results. A tray, a few measured portions and several days of observation provide more useful evidence than any capacity claim on a product page.
Set it up slowly, change one variable at a time and keep a human check in the routine.
Build a reliable automatic-feeding setup
Start with a compatible feeder, then protect the routine with suitable water-care and maintenance equipment.
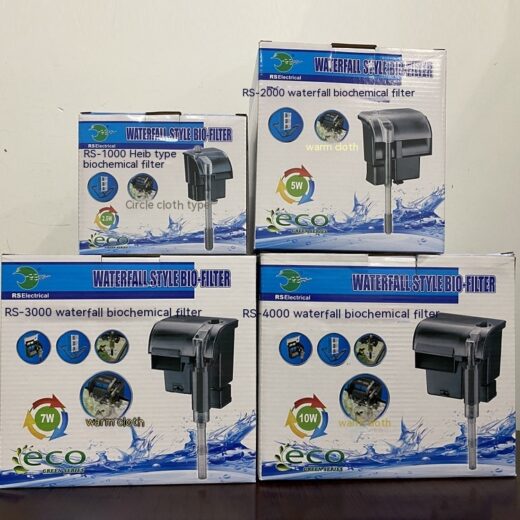
Aquarium Waterfall Bio Filter – RS1000 to RS4000
Products matched to this guide
Selected for relevance to the setup and needs covered above.
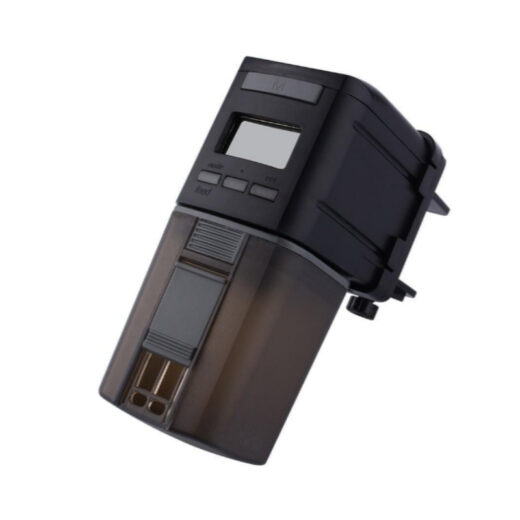
Automatic Fish Feeder for Goldfish & Koi – Standard/Wi-Fi
Automatic dry-food feeder for goldfish and koi, available as a standard black model or Wi-Fi remote-control…
View product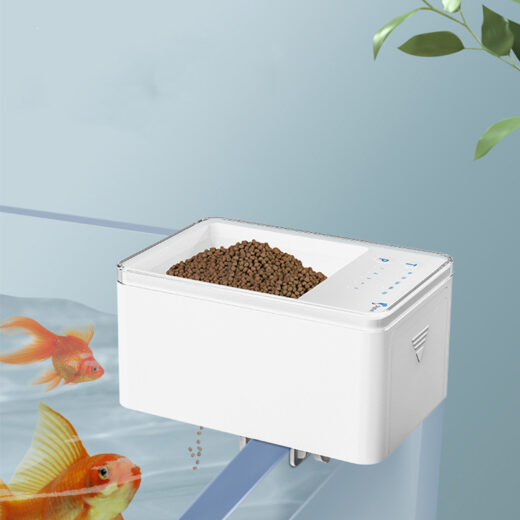
Digital Automatic Fish Feeder with LED Display – 500 ml
A compact 500 ml automatic aquarium feeder with an LED display, 24-hour scheduling and one-to-four daily…
View product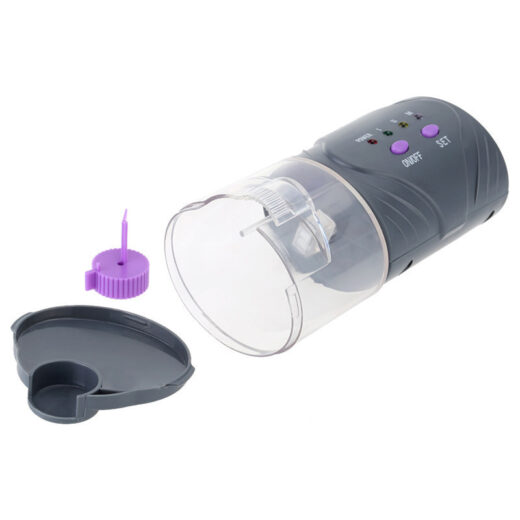
12/24-Hour Automatic Aquarium Fish Feeder
12/24-Hour Automatic Aquarium Fish Feeder — Schedule suitable dry food every 12 or 24 hours and…
View product