
Black Beard Algae: Causes, Diagnosis and Control Plan
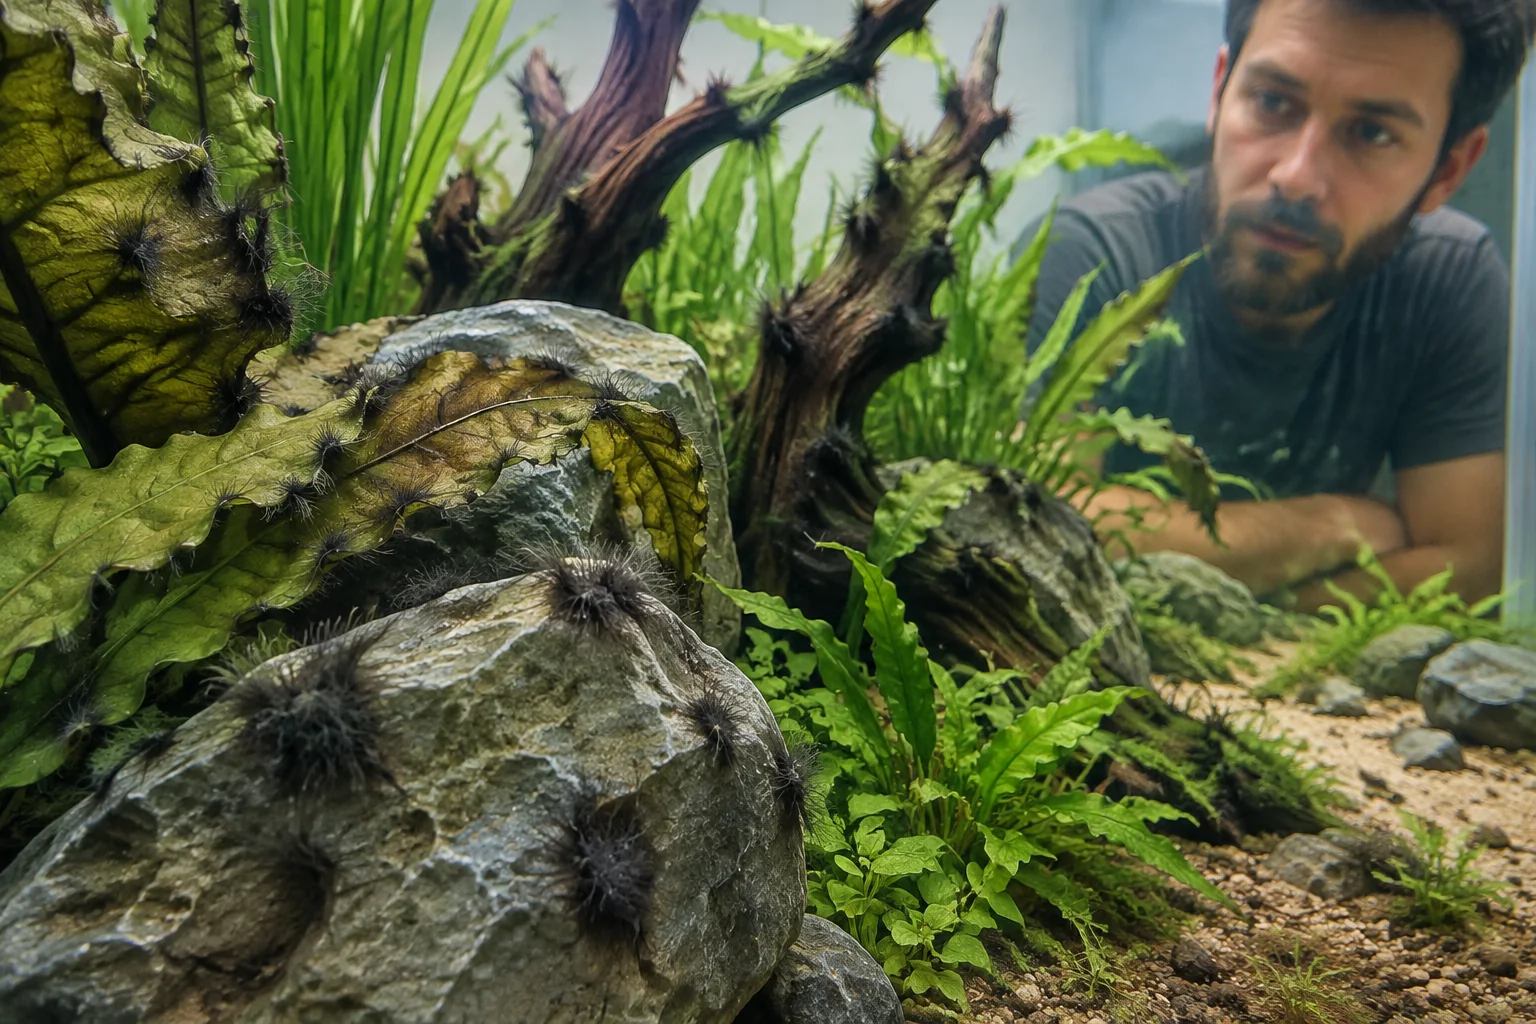
Black beard algae is a symptom to identify and manage; removing visible tufts without correcting instability usually produces a repeat outbreak.
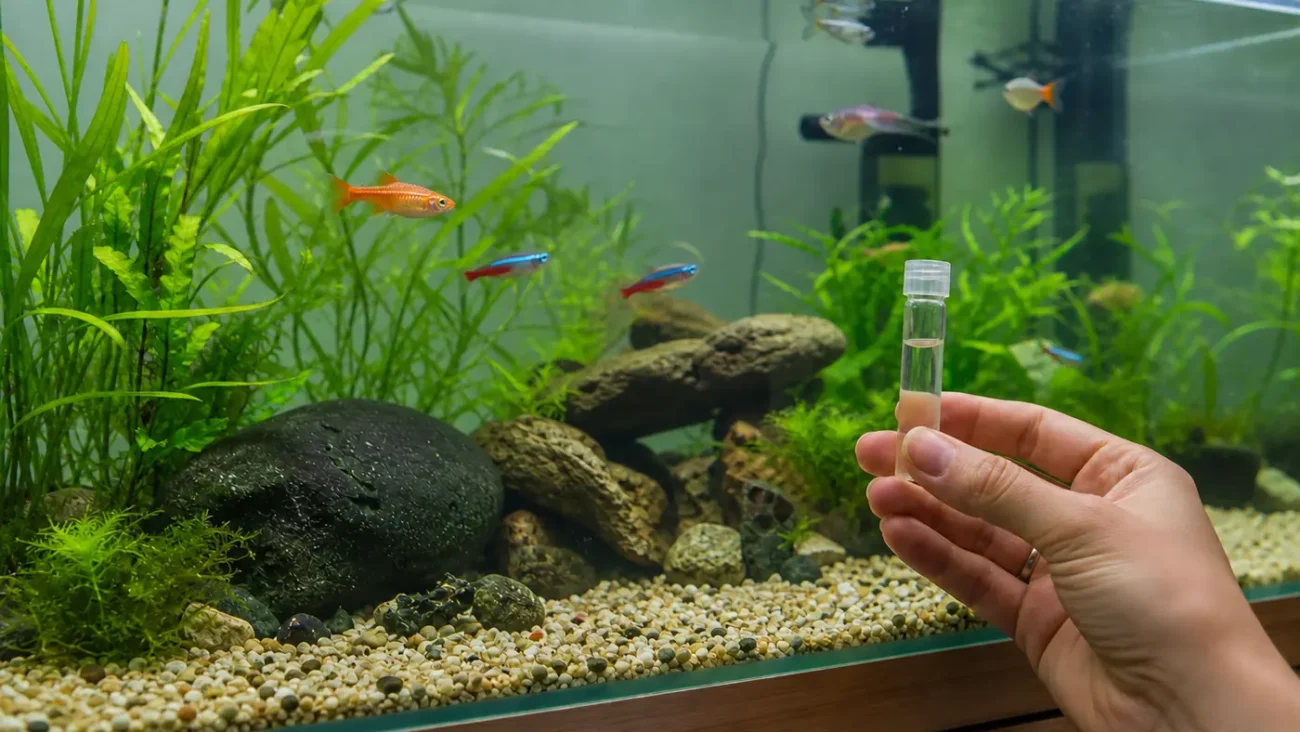
Black beard or black brush algae is commonly described as dark grey, black or reddish tufts attached firmly to hardscape, equipment and slow-growing leaves. Colour alone is not enough for identification; photographs under neutral light and texture are more useful.
The goal is not a sterile aquarium. It is to stop conditions that let the outbreak dominate while protecting plants and animals.
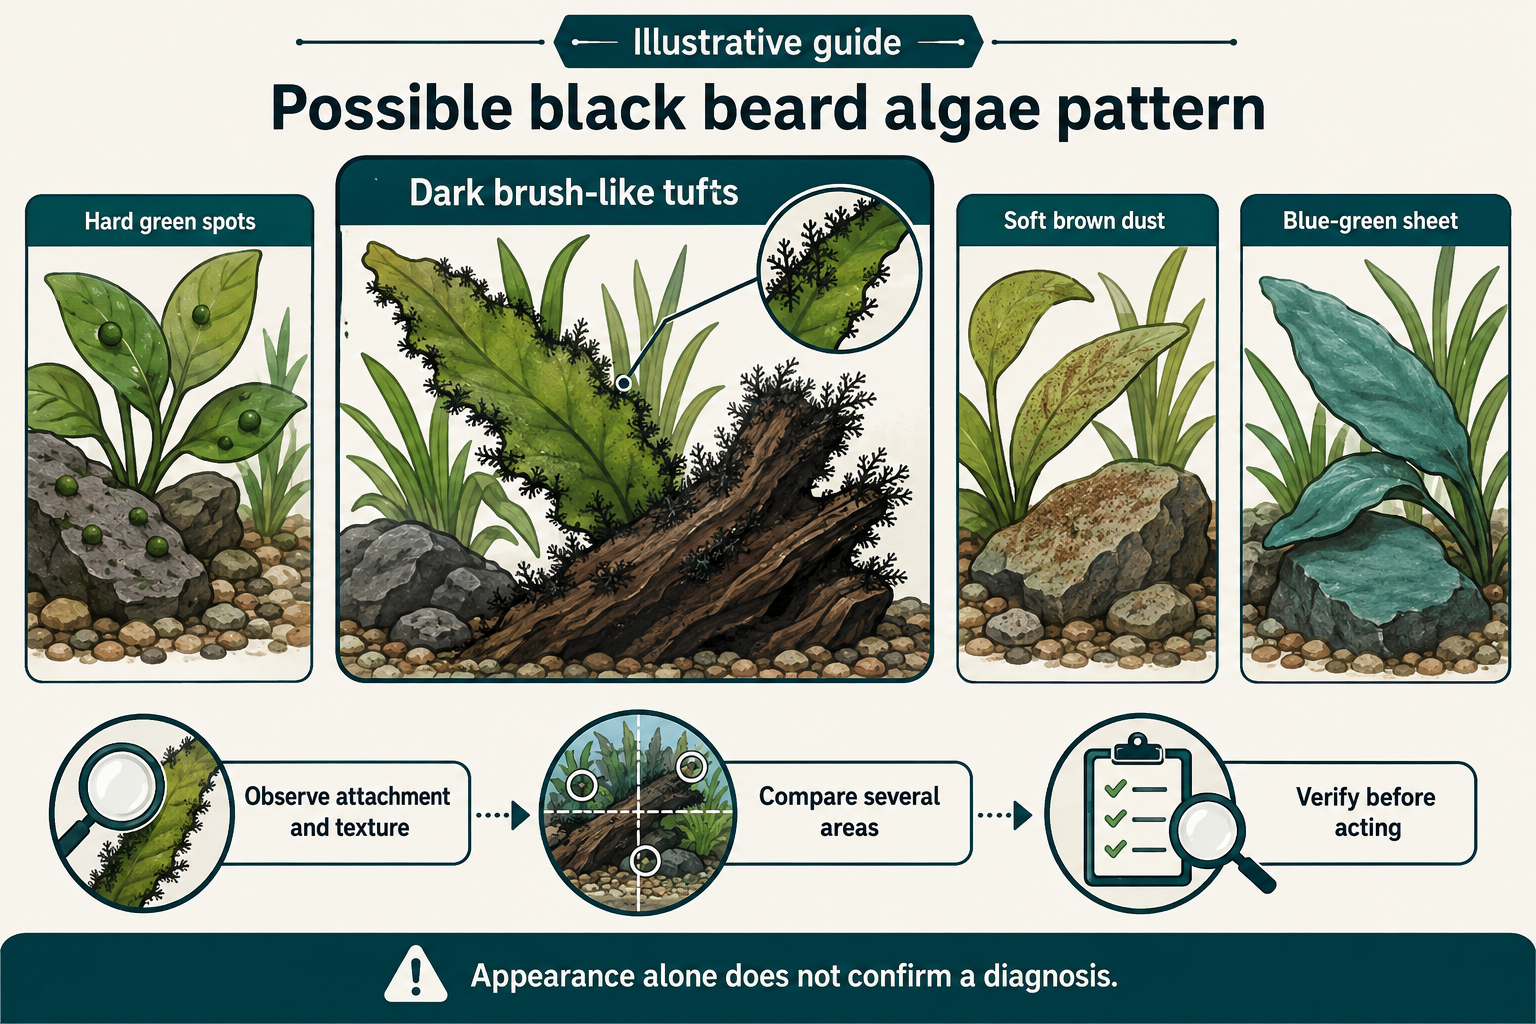
Return to the aquarium algae and maintenance diagnostic for the full comparison route. If the growth is made of hard dots rather than attached tufts, compare the green spot algae pattern.
Key takeaways
- Identify the algae before treating it.
- Audit light, carbon consistency, circulation and organic waste together.
- Remove leaves that cannot recover instead of repeatedly damaging them.
- Treatments must be labelled for the exact aquarium inhabitants and plants.
Five-part BBA audit
| Area | What to check | Corrective direction |
|---|---|---|
| Identification | Tough dark tufts versus soft film or hair | Compare clear images and avoid treatment until confirmed |
| Light | Duration, intensity and direct sunlight | Restore a controlled, repeatable schedule |
| Carbon | CO2 stability and distribution if used | Fix leaks, diffusion and timing; do not make abrupt increases |
| Flow | Dead areas and dirty filter output | Service equipment safely and redirect circulation |
| Waste | Overfeeding, decaying leaves and trapped debris | Remove sources and resume measured maintenance |
Remove biomass without damaging the system
Trim heavily covered leaves with clean tools. Remove and scrub movable hardscape outside the tank using an aquarium-safe method, and siphon loosened debris rather than allowing it to settle elsewhere.
Do not deep-clean every surface and replace biological filter media at the same time. Preserve the tank's filtration while reducing the visible algae load.
Stabilise before escalating
Set a fixed photoperiod, verify timer behaviour, clean the filter according to its instructions and restore normal water changes. In CO2-injected tanks, check delivery consistency and circulation rather than reacting with a large bubble-rate increase.
Observe for new growth over one to two weeks. Old algae may remain visible after conditions improve, so judge progress by reduced new tufts and healthier plant growth.
Chemical and liquid-carbon cautions
Some algae products can harm plants, shrimp, snails or filter biology, and concentrated spot dosing can create local exposure far above the label's intended use. Never recommend a dose without the exact product, water volume and inhabitants.
Use only a legally supplied, clearly labelled product that is compatible with the tank, and follow the manufacturer. If identification or animal safety is uncertain, seek an experienced aquatic professional.
Practical checklist
- Photograph and confirm the algae type.
- Remove badly affected leaves and trapped debris.
- Check timer, intensity and sunlight.
- Inspect filter output and dead zones.
- Verify CO2 consistency if present.
- Track new growth before adding another intervention.
Frequently asked questions
Will turning off the light remove BBA?
A blackout alone does not diagnose or correct the cause and can weaken plants. Restore an appropriate controlled photoperiod and correct the wider system.
Do Amano shrimp eat black beard algae?
Grazers may help with some algae, but they are not a substitute for diagnosis and must be suitable for the tank. Never add animals as disposable treatment tools.
Should I replace all affected plants?
Remove leaves that are heavily damaged, but healthy plants can often recover after conditions stabilise. Avoid stripping the tank of plant mass unnecessarily.
Sources and editorial method
This guide combines manufacturer documentation, official safety or regulatory guidance where relevant, and DaraSphere catalogue checks. Product availability and specifications can change; verify the current product page before ordering.
Build a practical aquarium maintenance kit
Choose tools that fit the tank material and size, then add filtration support and monitoring for a repeatable care routine.
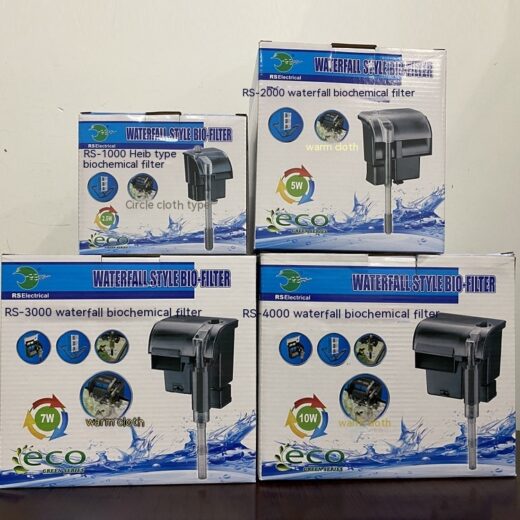
Aquarium Waterfall Bio Filter – RS1000 to RS4000
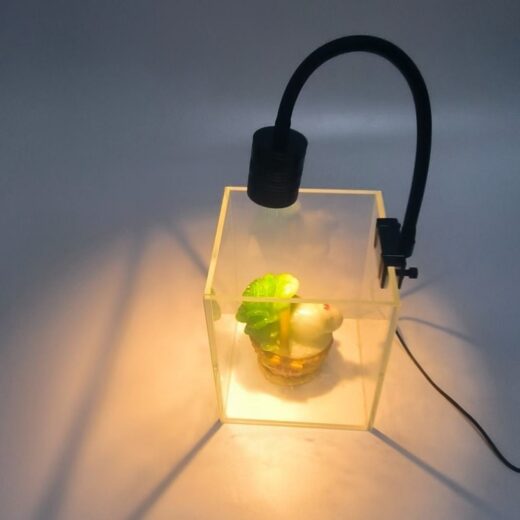
7 W USB Aquarium Plant Spotlight – Standard & Dimmable Models
Products matched to this guide
Selected for relevance to the setup and needs covered above.
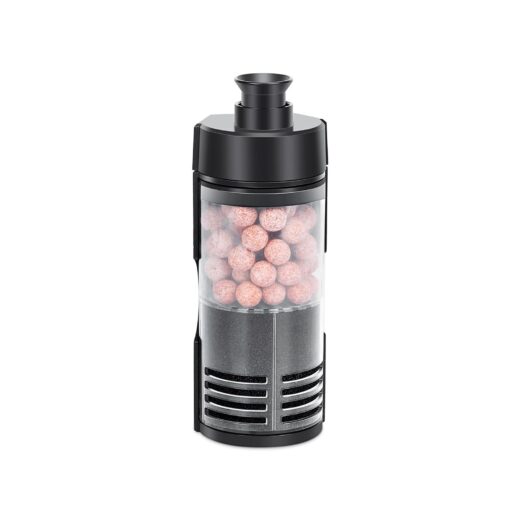
Bio Sponge Filter for Betta, Shrimp & Fry – 2–20 Gallons
Bring sponge and ceramic-media filtration together in a compact, air-driven filter. Choose Small for 2–5-gallon aquariums…
View product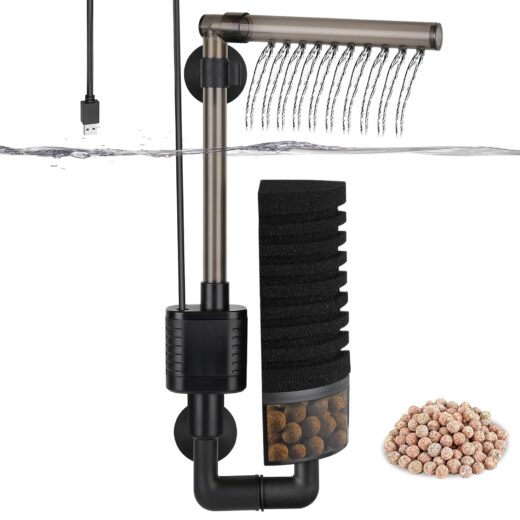
USB Aquarium Sponge Filter with Ceramic Media – Fresh/Saltwater
A compact black USB aquarium filter with two reusable sponges and one bag of ceramic media.…
View product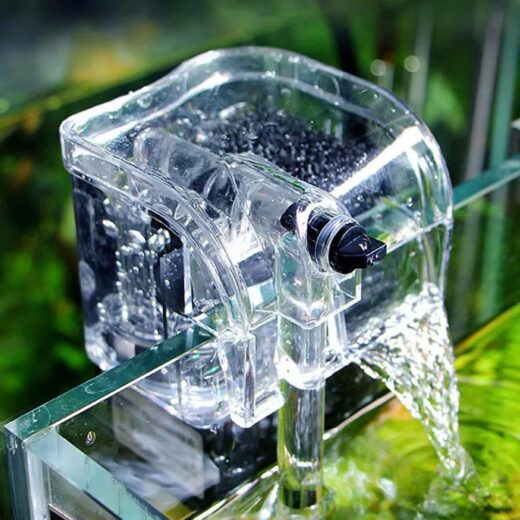
Nano Hang-On Back Aquarium Filter for Betta & Shrimp – 1–5 Gallons
Compact white hang-on-back filter for 1–5 gallon nano tanks, with adjustable flow, aeration and surface skimming.…
View product