
Planted Aquarium Maintenance: Weekly and Monthly Routine
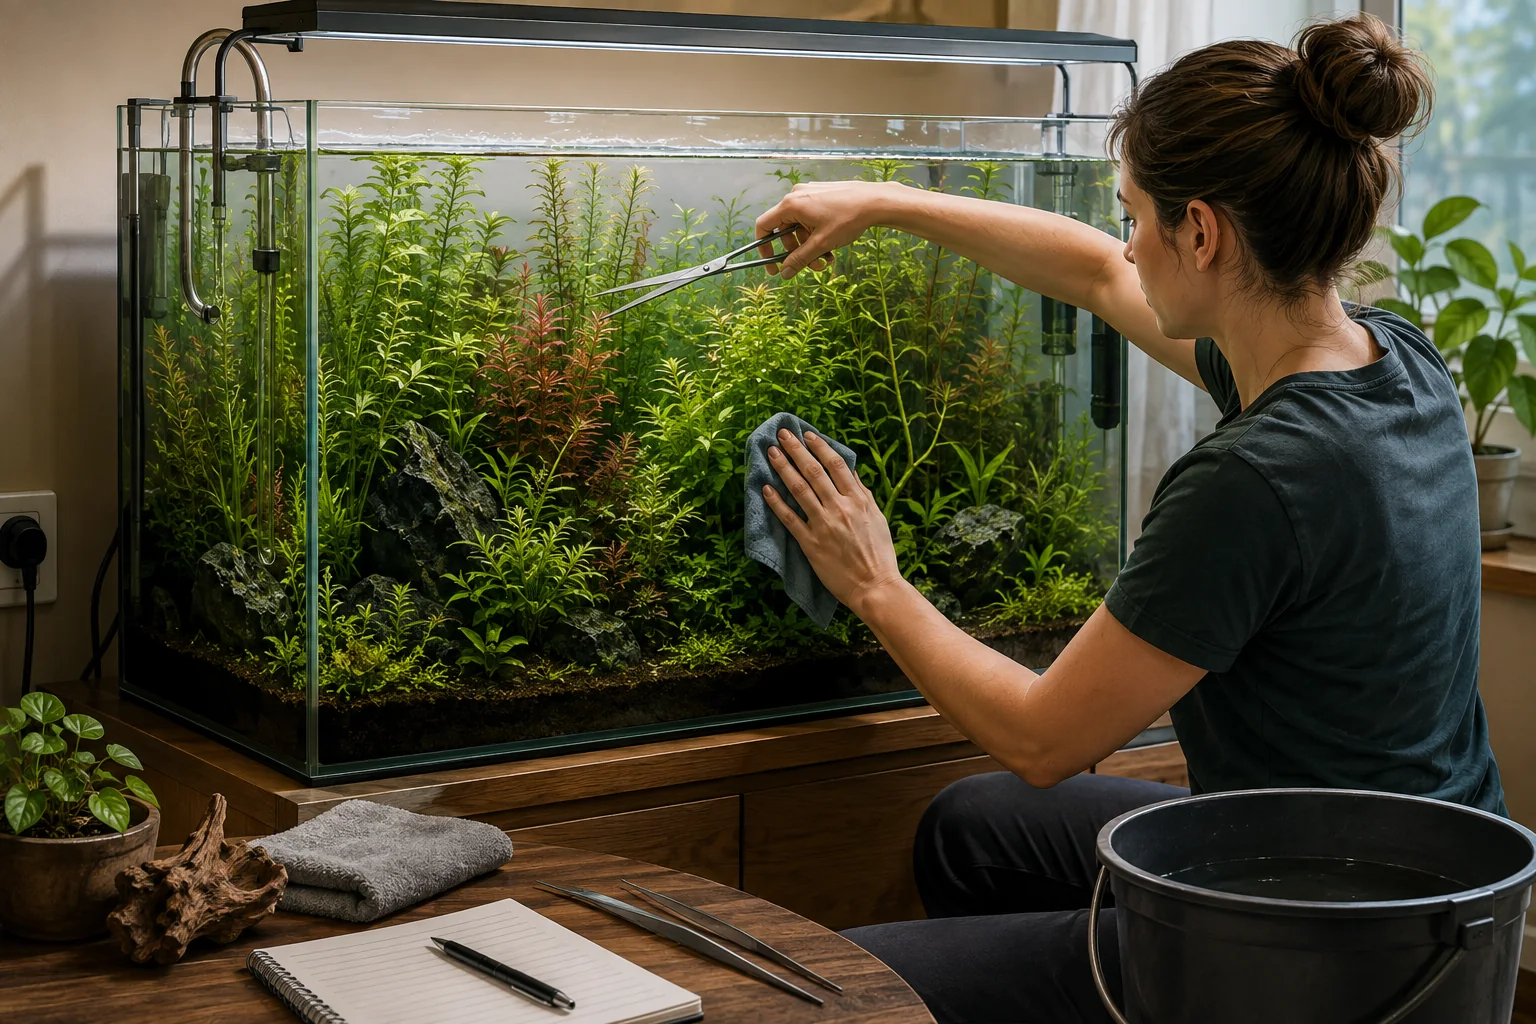
A planted aquarium maintenance routine should prevent small problems from becoming disruptive clean-ups. The exact interval depends on plant growth, livestock, feeding, source water, substrate and filter capacity, but the work is easier to manage when observation, water care, trimming and equipment service are separated.
Use the schedule below as a planning framework. Follow the exact instructions for every filter, heater, light, fertiliser, conditioner and other product, and adapt the routine from measured conditions rather than treating the calendar as a safety guarantee.
Daily: observe before intervening
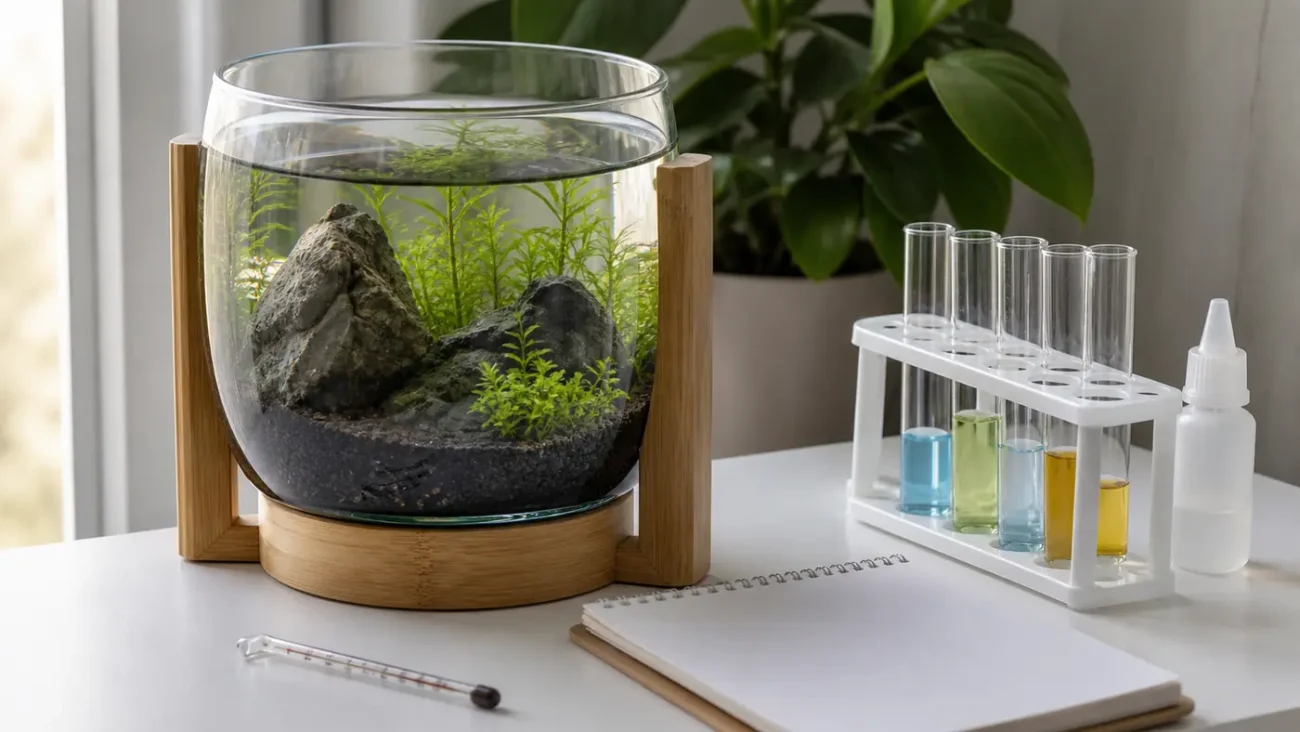
A daily check can take less time than a feeding. Look at livestock behaviour, temperature where relevant, surface movement, filter flow, leaks, unusual equipment noise and the condition of the newest plant growth. Remove a dead animal or a large decaying leaf promptly using safe aquarium tools, but do not turn every observation into a new treatment.
- Confirm pumps, heaters and lights are operating as intended.
- Check the floor, cabinet, hoses and rim for moisture.
- Look for trapped livestock or blocked intakes.
- Notice sudden cloudiness, odour or a marked change in behaviour.
- Record anything unusual before changing the system.
Weekly: combine the tasks that create debris
Many planted aquariums benefit from a regular weekly work session, but the amount of water replaced and the exact tasks must fit the aquarium’s measured conditions and livestock requirements. Prepare replacement water, dedicated tools and towels before switching off any equipment whose instructions require it.
- Review the week. Check notes, test results and repeated plant or livestock observations. Decide whether any planned adjustment has enough evidence.
- Trim first. Remove damaged leaves, thin crowded stems and reopen intended negative space. Keep enough healthy plant mass for the layout and avoid an unnecessary full reset.
- Clean accessible surfaces. Wipe algae from the glass with aquarium-safe tools and loosen only the debris you intend to remove.
- Remove debris and the planned water volume. Siphon accessible waste without aggressively disturbing deep substrate or plant roots.
- Refill safely. Prepare replacement water according to measured conditions, livestock needs and product labels. Prevent the refill from uprooting plants or exposing equipment.
- Restart and verify. Confirm flow, temperature, valves, timers and any CO₂ equipment are operating as intended. Check again for leaks.
Monthly: inspect the system, not just the display
| Area | What to inspect | Act when |
|---|---|---|
| Hoses and fittings | Kinks, visible deposits, loose connections, hardened parts or moisture | Flow or condition has changed, or the manufacturer specifies service or replacement |
| Electrical equipment | Cables, plugs, drip loops, timers and signs of damage | Stop using damaged equipment and follow manufacturer or qualified electrical guidance |
| Plant groups | Shading, blocked circulation, runners entering open areas and lower-leaf decline | The intended structure or access is disappearing |
| Hardscape and substrate | Movement, trapped debris and loss of access around the glass or intake | Stability or safe maintenance access is affected |
| Consumable parts | Condition and the manufacturer’s replacement guidance | Performance or documented service life indicates replacement |
“Monthly” is a reminder to inspect; it is not a reason to dismantle equipment that is working correctly. Some parts need more frequent attention, while others should be left undisturbed until flow, condition or the manufacturer schedule indicates service.
Service the filter by condition and instructions
Reduced flow, visible blockage or a documented service interval may justify filter maintenance. Preserve established biological media, keep it wet as appropriate to the filter guidance and avoid replacing every component simultaneously. Do not use household detergent on aquarium equipment.
Clean the intake guard and accessible mechanical debris before assuming the whole filter needs to be stripped down. When a component must be replaced, confirm the exact model and compatibility rather than relying on appearance.
Coordinate trimming, nutrients and light
A major trim reduces plant mass and can change nutrient demand and shading. Record the trim date and avoid making an unrelated large light or fertiliser change at the same time. Judge the result from repeated observations and healthy new growth.
Fertiliser and conditioner doses must follow their labels and the volume those instructions specify. The gross tank capacity, actual aquarium water volume and replacement-water volume are different numbers; note which one each product uses.
Use triggers for work that does not fit the calendar
- Sudden loss of flow: inspect the intake, outlet and filter according to its manual.
- Leak or damaged cable: make the area safe and stop using affected equipment as instructed; do not improvise a wet-environment repair.
- Unusual livestock behaviour: verify equipment and measured water conditions, then seek qualified species-specific guidance.
- Rapid plant shading: thin the responsible group before lower growth decays or circulation is blocked.
- Persistent decline: review the recorded baseline and change one justified variable at a time.
A compact maintenance record
For each session, note the date, measured water volume replaced, relevant test results, trimmed plant groups, filter work, products and amounts used, and any equipment change. One photograph from the same position can make changes in plant mass and clarity easier to compare.
The record is not paperwork for its own sake. It prevents accidental double dosing, shows whether the routine is repeatable and helps separate a temporary visual change from a trend that needs investigation.
Further guidance
Next step: For the task-by-task cleaning sequence, use the planted aquarium cleaning routine.
Build a practical aquarium maintenance kit
Choose tools that fit the tank material and size, then add filtration support and monitoring for a repeatable care routine.
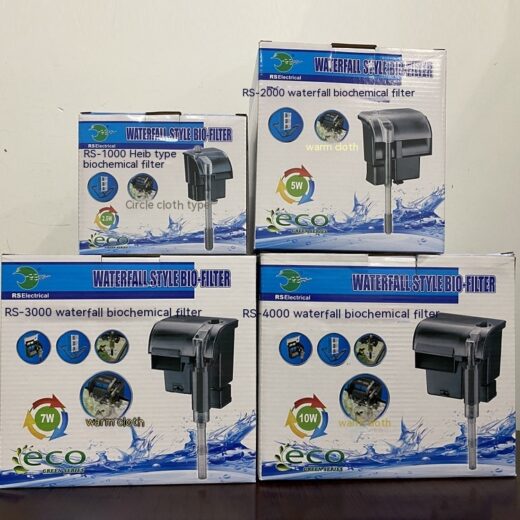
Aquarium Waterfall Bio Filter – RS1000 to RS4000
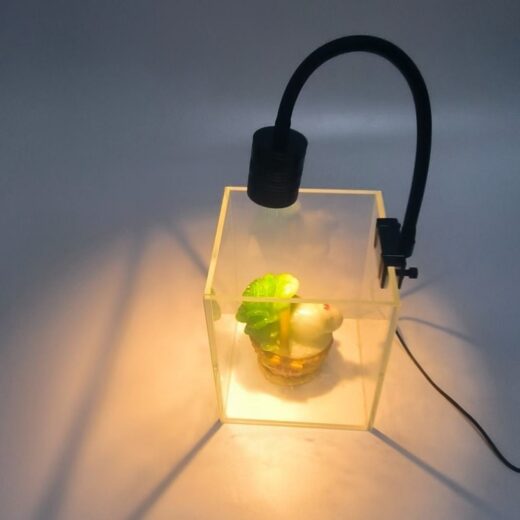
7 W USB Aquarium Plant Spotlight – Standard & Dimmable Models
Products matched to this guide
Selected for relevance to the setup and needs covered above.
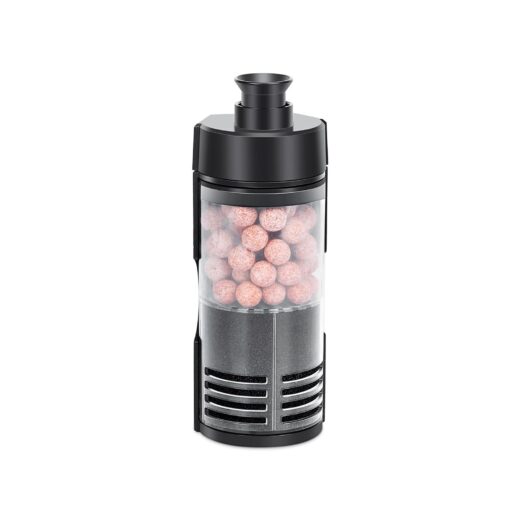
Bio Sponge Filter for Betta, Shrimp & Fry – 2–20 Gallons
Bring sponge and ceramic-media filtration together in a compact, air-driven filter. Choose Small for 2–5-gallon aquariums…
View product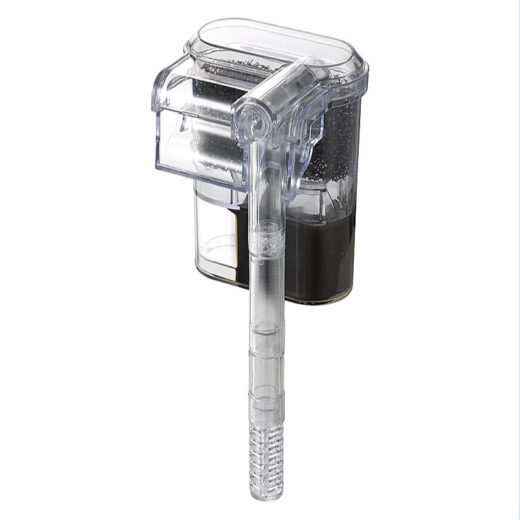
USB Mini Hang-On Waterfall Aquarium Filter
A compact USB-powered hang-on waterfall filter for small aquariums. Its transparent-grey ABS housing keeps the tank…
View product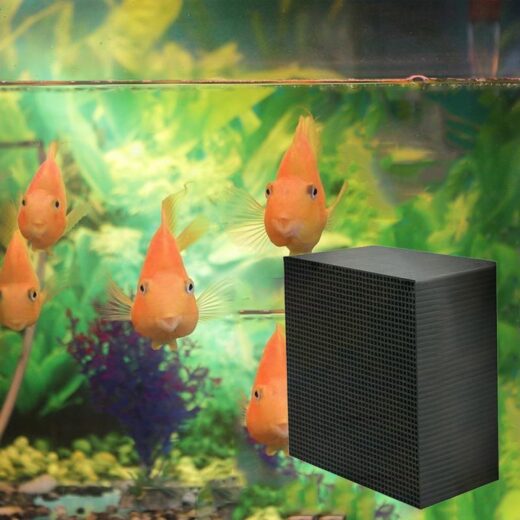
Aquarium Filter Media Combo Set – 1/2/3 Pieces
Aquarium Filter Media Combo Set – 1/2/3 Pieces — supports clearer water and a more manageable…
View product