
Dutch Aquascape Guide: Plant Streets, Colour and Upkeep
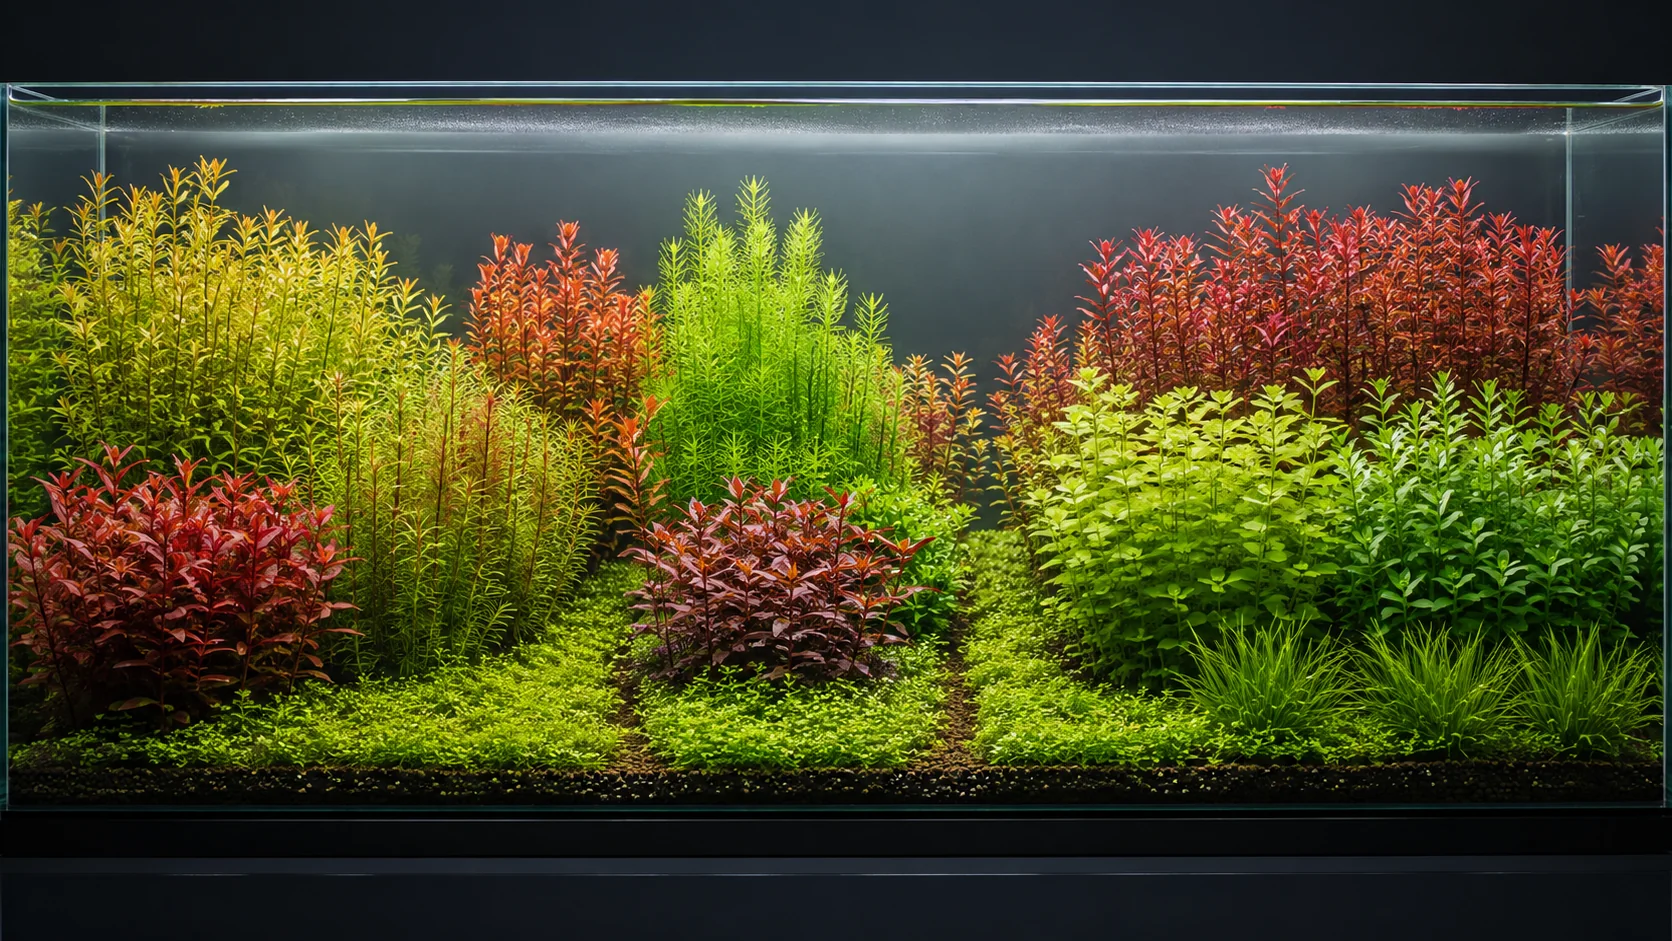
A Dutch aquascape is organised with plants rather than dominated by stone or wood. The design becomes readable when each plant group has a clear role, neighbouring groups differ in form or colour, and the layout still has enough access for regular trimming.
For a first attempt, use a limited palette of correctly identified plants. A crowded shopping list does not create the style: the stronger result usually comes from deliberate groups, controlled height changes and a maintenance plan that keeps those groups distinct as they grow.
What makes the planting look intentional
Think in plant masses rather than individual specimens. A group needs enough width to register as one visual unit, while the transition to the next group should be obvious from the normal viewing position. Leaf size, leaf shape, height and colour can all create separation; using every kind of contrast at once can make the tank restless.
Plants provide the main structure, so hardscape can be minimal or visually subordinate. If you use wood or stone, decide whether it supports the planting map or merely occupies space that will be needed for roots, stems or maintenance tools.
Draw the planting map before choosing species
Mark foreground, middle and background areas on a front-view sketch. Then reserve the width of each group and the route your hand or tools will use when stems need to be cut and replanted. Include the filter intake, outlet and any equipment that must remain reachable.
Choose plants by their documented mature form and care requirements, not by a sales photograph. Check the exact scientific or cultivar name, likely height, growth habit, placement needs and whether the plant’s light and carbon demand fits the aquarium you intend to run.
| Planning question | Why it matters in this style |
|---|---|
| Will this plant remain visible beside its neighbours? | A slower or shorter group can disappear behind faster stems. |
| Can the group be reached without uprooting another one? | Repeated shaping is part of keeping the composition legible. |
| Do adjacent groups offer a useful contrast? | Differences in leaf form, height or colour help define the planting streets. |
| Do the chosen plants share workable care conditions? | Appearance cannot compensate for incompatible temperature, light or carbon needs. |
Build depth with height, leaf scale and repetition
Use lower plants at the front where they will not hide the composition, then build deliberate height transitions into the middle and background. Avoid a simple wall of tall stems across the entire rear glass. Small changes in group height and the direction of trimmed tops can create depth without adding more species.
Repeat a visual rhythm instead of placing each plant once. For example, a fine-leaved group can be answered by another fine texture elsewhere while a broader-leaved plant acts as a pause. The aim is a clear hierarchy, not perfect symmetry.
Match the system to the plants you actually selected
Do not set maximum light as a shortcut to compact growth or stronger red colour. A demanding red stem is a decision about the whole planting plan, including its documented light, carbon and nutrition needs. If those needs are beyond the intended maintenance level, change the species rather than forcing the aquarium to imitate a finished photograph.
Tropica’s growing-in guidance and planted-aquarium overview are useful starting points for establishment and plant care. Apply the instructions supplied for each plant and product in your own setup.
Design the trim-and-replant route
Dense stem groups can shade their lower growth and trap debris when access is poor. Leave enough room to cut, lift and replant healthy tops without tearing through neighbouring groups. A narrow gap that looks excessive on planting day may disappear when the plants fill out.
Before a major trim, photograph the tank from its usual viewing position. Use that image to decide which slopes, streets and focal groups need to remain. Cut groups according to the shape you want them to regrow into, remove weak lower material and avoid uprooting the entire layout simply to make every top level.
Account for the room around the aquarium
In the UAE and wider GCC, check how window exposure, warm periods and air-conditioning affect the actual tank rather than assuming the room is constant. In the UK, Germany and the Netherlands, radiators, winter windows and seasonal daylight can change local conditions around the glass. Use measured aquarium conditions when selecting plants and positioning equipment.
Availability also differs by market. Do not substitute an unidentified plant because it looks similar online; the replacement may have a different growth rate or care requirement and can change the planned group.
Read the aquascape after it has grown
Review the layout after each growth cycle. Check whether one group is shading another, whether lower stems are weakening, whether debris is collecting behind dense planting and whether the intended open spaces remain visible. Correct the affected group rather than redesigning the entire aquarium after every imperfect trim.
If the tank has become a mixed stem collection, return to the planting map. Consolidate repeated specimens into clearer masses, remove groups that cannot be maintained under the same conditions and restore the access routes needed for future work.
A practical order for a first Dutch-inspired layout
- Measure the internal footprint and mark equipment and maintenance access.
- Sketch a small number of foreground, middle and background plant groups.
- Confirm the identity and care requirements of every proposed plant.
- Replace incompatible choices before buying additional equipment.
- Plant in distinct masses with room for expected growth and trimming.
- Photograph the initial map and compare it with the mature layout.
- Refine group width and height through planned trimming rather than constant rearrangement.
For a visual example of a professional layout workflow, see ADA’s aquarium creation process. It represents ADA’s own approach, not a mandatory formula for Dutch style.
Related DaraSphere guides: Aquascaping Styles, Jungle Aquascape Planning and Nano Aquascape Design.
Build a planted aquascape starter kit
Begin with a simple layout foundation, then choose lighting and maintenance tools that match the plants and available space.
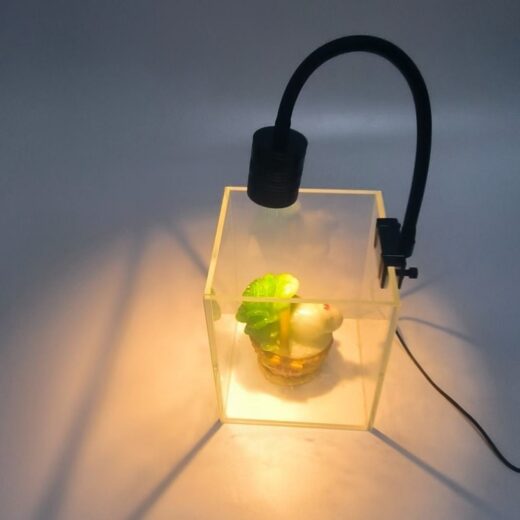
7 W USB Aquarium Plant Spotlight – Standard & Dimmable Models
Products matched to this guide
Selected for relevance to the setup and needs covered above.
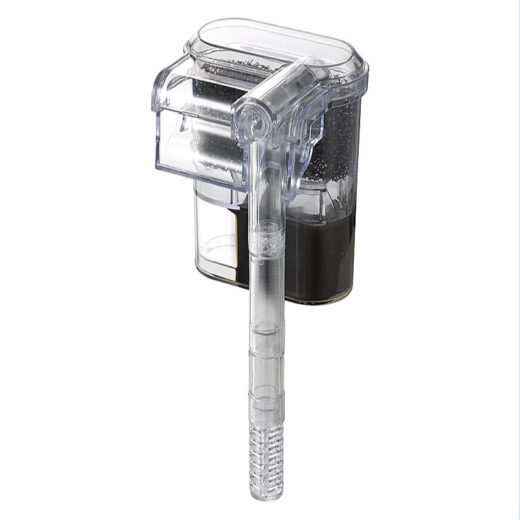
USB Mini Hang-On Waterfall Aquarium Filter
A compact USB-powered hang-on waterfall filter for small aquariums. Its transparent-grey ABS housing keeps the tank…
View product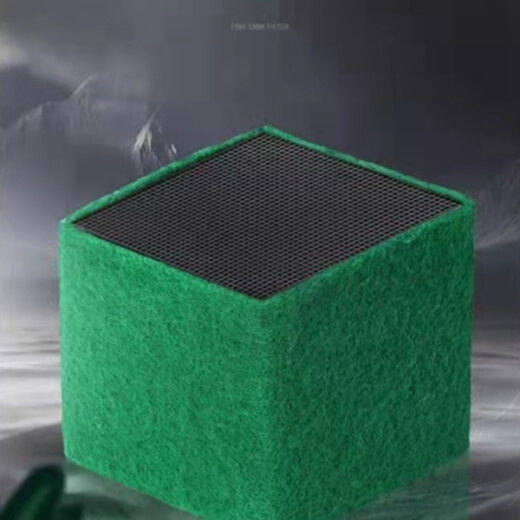
Filter Media Cube – Black/Green, Small/Large, 1–3 Pack
Cube-format aquarium filter media in black or green, small or large, with 1-, 2- and 3-piece…
View product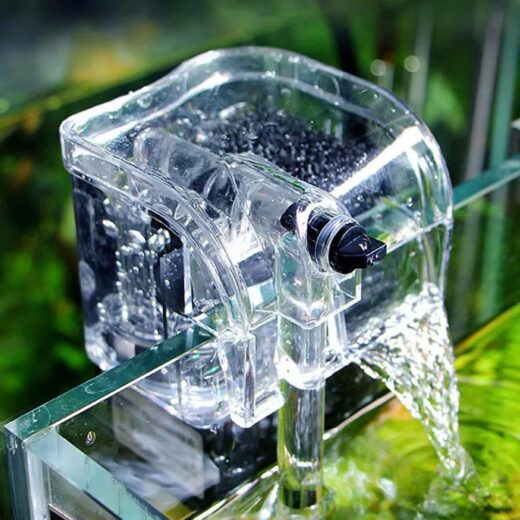
Nano Hang-On Back Aquarium Filter for Betta & Shrimp – 1–5 Gallons
Compact white hang-on-back filter for 1–5 gallon nano tanks, with adjustable flow, aeration and surface skimming.…
View product