
Wabi-Kusa Beginner Guide: Emersed Plant Display Basics
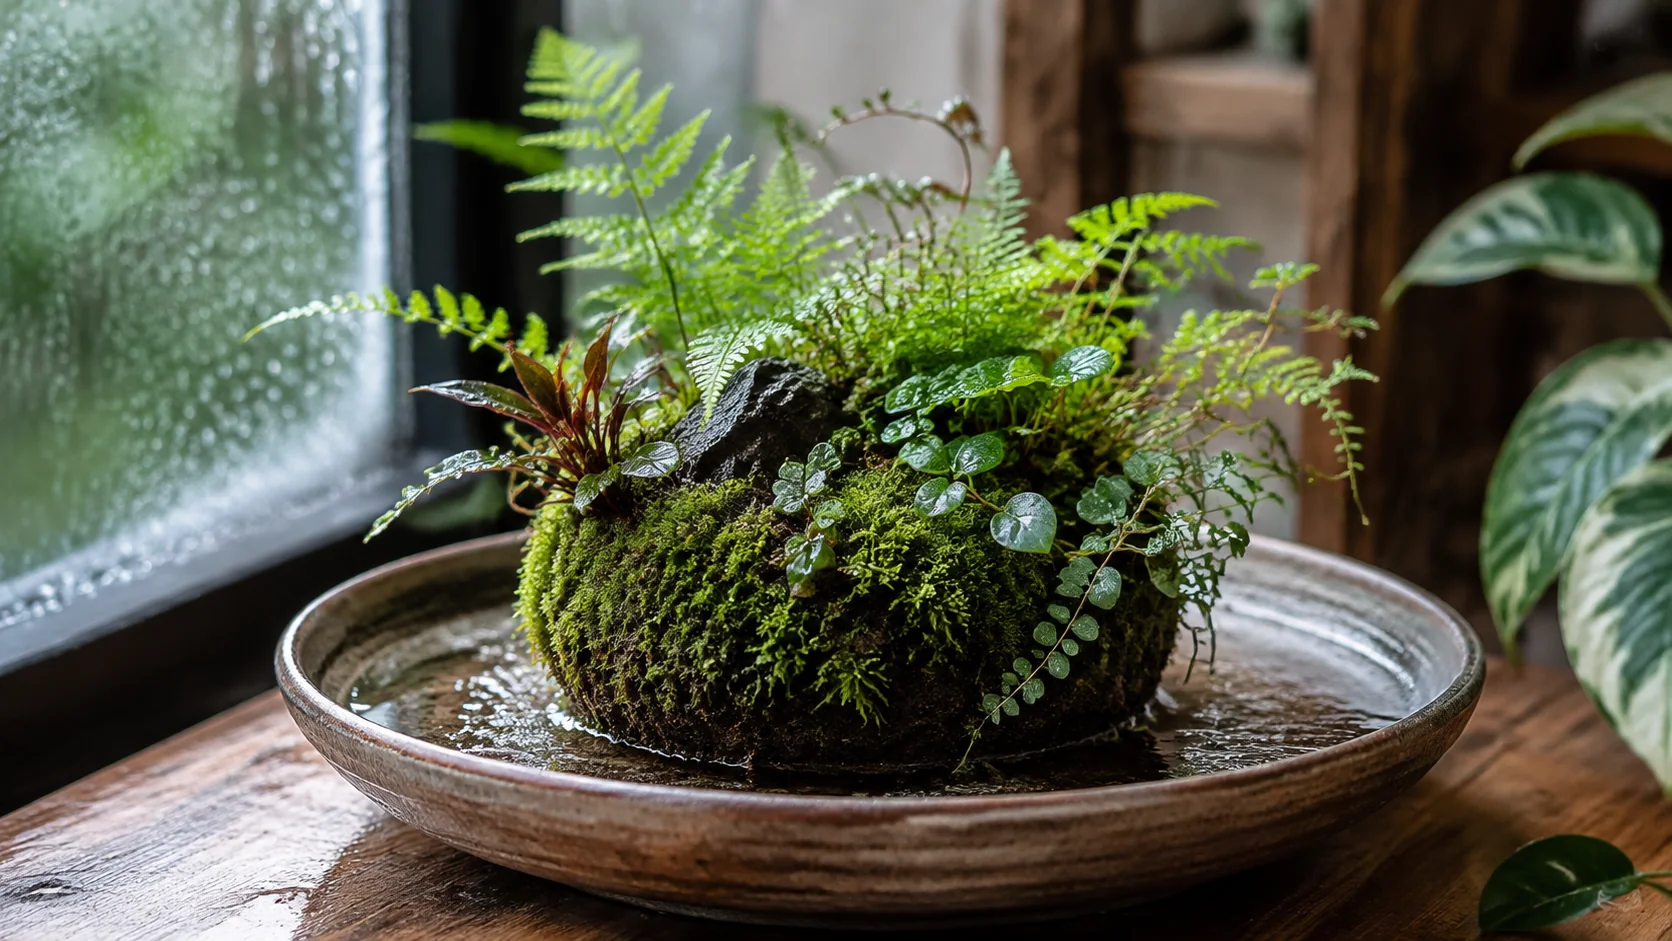
Wabi-Kusa presents aquatic or moisture-loving plants in an emersed composition where humidity, transition and containment matter as much as light.
Use plants confirmed for emersed growth, an appropriate moisture-retaining base and a container that supports humidity without stagnant, overheated air. Acclimate gradually, provide controlled light, protect surrounding surfaces and treat the display as a horticultural system—not an aquarium for livestock.
Decide what kind of display you are making
“Wabi-Kusa” is used in the hobby for compact compositions of aquatic or moisture-loving plants grown above water, sometimes on a prepared planted base. Some products can also be submerged later, but that does not mean every plant or base should move freely between both conditions. Follow the instructions for the exact plant and product you have.
This guide covers an emersed, plant-only display. A shallow decorative vessel does not provide the volume, filtration, oxygenation or stable conditions needed to assume it is suitable for fish or shrimp.
Choose plants by growth form, not by the display photograph
Buy plants with an exact scientific or cultivar name and a clear statement that they can grow emersed. “Aquatic plant mix” is not enough information: plants in the same display can differ in height, growth speed, moisture tolerance and response to trimming.
Check whether the plant was supplied in emersed or submerged form. Leaves formed under water may not remain useful after a move into air, and emersed leaves may be replaced after submersion. Judge the transition by the condition of new growth rather than trying to preserve every old leaf.
ADA’s official Wabi-Kusa line-up shows that different planted bases are intended for different positions and growth forms. Treat that catalogue as product-specific guidance, not as a universal care sheet for every plant sold under a similar name.
Match the vessel to moisture and airflow
| Vessel type | Useful when | Watch for |
|---|---|---|
| Open bowl or tray | The room is stable and the chosen plants tolerate open-air growth. | Faster moisture loss, especially near air-conditioning, radiators or fans. |
| Partly covered vessel | New plants need a gentler transition to room humidity. | Condensation, stagnant air and heat build-up if ventilation is too limited. |
| Purpose-made planted base | The maker provides clear watering, placement and maintenance instructions. | Assuming a different brand or homemade base behaves the same way. |
Use a waterproof tray or mat beneath the display and leave room to water, trim and lift the base without spilling onto furniture. A visually perfect container is a poor choice if you cannot see the moisture level or reach declining leaves.
Place the light for the plant and the room
Use a controllable plant or aquarium light and follow its stated distance and coverage guidance. Do not use direct sun through glass as a substitute: a small vessel can heat unevenly and the same window can deliver very different conditions across the day or season.
In UAE and GCC homes, check both sides of the room problem: sun near a window can raise local temperature, while strong air-conditioning can dry exposed leaves. In the UK, Germany and the Netherlands, radiators, winter windows and seasonal daylight shifts can create their own local swings. Measure conditions at the display instead of assuming the country or room label tells you what the plant experiences.
Acclimate the plant without chasing every old leaf
If a newly moved plant loses older leaves but produces firm new growth, the change may be part of its transition. If the base is drying, new growth is also declining or soft tissue is spreading, investigate the setup rather than calling every change “melt”.
For a covered display, alter ventilation gradually enough to observe the next growth. Opening the lid fully, moving the light and changing the watering routine together makes it difficult to identify what the plant could not tolerate.
Keep the base moist without turning it into stagnant water
Check moisture at the base, not just droplets on the glass. Condensation can coexist with a dry root zone, and frequent misting can coexist with a waterlogged base. Add water gently and follow the plant or base maker’s instructions; do not copy a fixed schedule from a different vessel.
ADA’s Wabi-Kusa maintenance guide recommends misting to prevent drying, replenishing water lost to evaporation and transpiration, and trimming dense growth so light reaches lower shoots. Those directions apply to ADA’s system; the useful general lesson is to watch moisture and plant density directly.
Trim for access, light and airflow
Remove soft or decaying tissue promptly. Thin crowded stems before the centre becomes inaccessible, and cut in a way that preserves healthy lower growth rather than shearing only the visible top. Keep the composition’s outline, but do not let the outline hide declining material underneath.
Clean the vessel and waterproof tray before deposits obscure your view of the base. If pests appear, isolate the display from aquariums and other plants while you identify the problem; do not improvise a pesticide treatment around livestock.
Use symptoms as prompts, not diagnoses
| What you see | Check first |
|---|---|
| Crisp edges or drooping exposed growth | Moisture at the base, direct heat, strong airflow and the species’ emersed suitability. |
| Soft, dark tissue or a stale smell | Standing water, poor airflow, buried damaged material and declining leaves. |
| Healthy growth only on the outer surface | Whether the centre needs thinning so light and air can reach lower shoots. |
| Water marks beyond the vessel | The containment tray, misting direction and condensation path before surface damage occurs. |
A simple setup order for a first Wabi-Kusa
- Confirm the exact plant names and emersed-growth guidance.
- Choose an open or partly covered vessel from those plant needs.
- Add a waterproof layer beneath the display and test access for watering and trimming.
- Position the light away from direct sun, heaters, radiators, fans and strong air-conditioning.
- Set the moisture level according to the plant or base maker’s instructions.
- Watch new growth, the base and the centre of the plant mass; adjust the specific condition that is failing.
If you intend to submerge the plants later, plan that transition as a separate aquarium project. Tropica’s growing-in guide is a useful manufacturer reference for the early phase of a planted aquarium.
Related DaraSphere guides: Aquascaping Styles and Nano Aquascape Design.
Build a planted aquascape starter kit
Begin with a simple layout foundation, then choose lighting and maintenance tools that match the plants and available space.
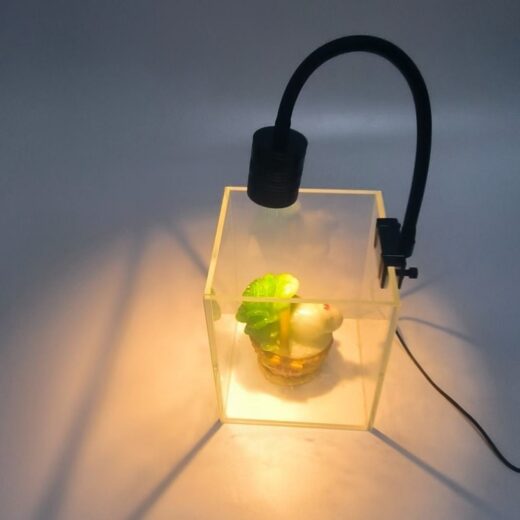
7 W USB Aquarium Plant Spotlight – Standard & Dimmable Models
Products matched to this guide
Selected for relevance to the setup and needs covered above.
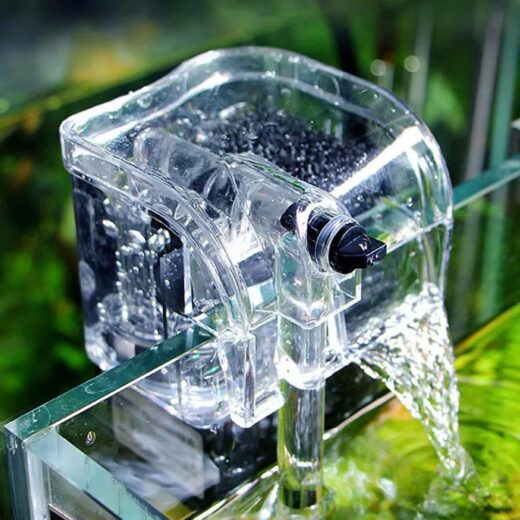
Nano Hang-On Back Aquarium Filter for Betta & Shrimp – 1–5 Gallons
Compact white hang-on-back filter for 1–5 gallon nano tanks, with adjustable flow, aeration and surface skimming.…
View product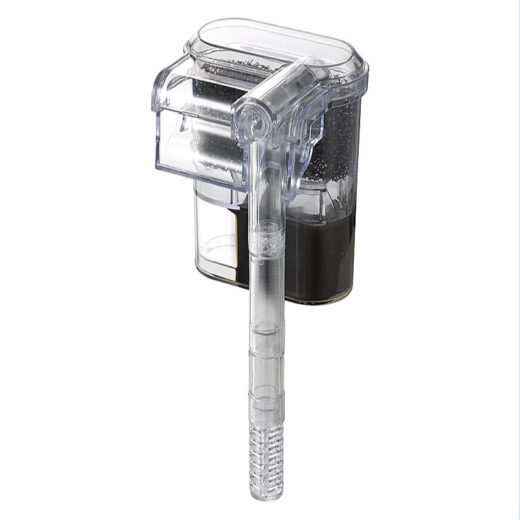
USB Mini Hang-On Waterfall Aquarium Filter
A compact USB-powered hang-on waterfall filter for small aquariums. Its transparent-grey ABS housing keeps the tank…
View product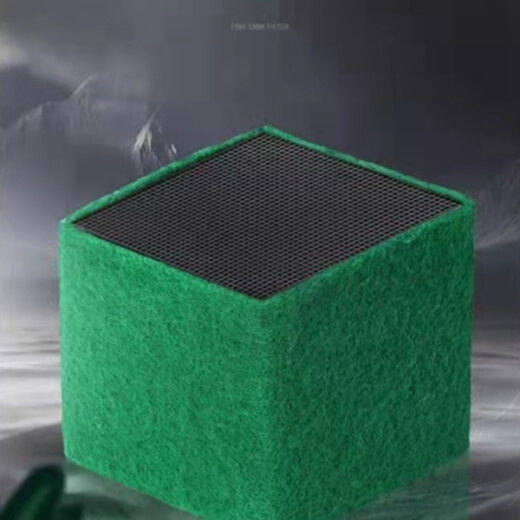
Filter Media Cube – Black/Green, Small/Large, 1–3 Pack
Cube-format aquarium filter media in black or green, small or large, with 1-, 2- and 3-piece…
View product